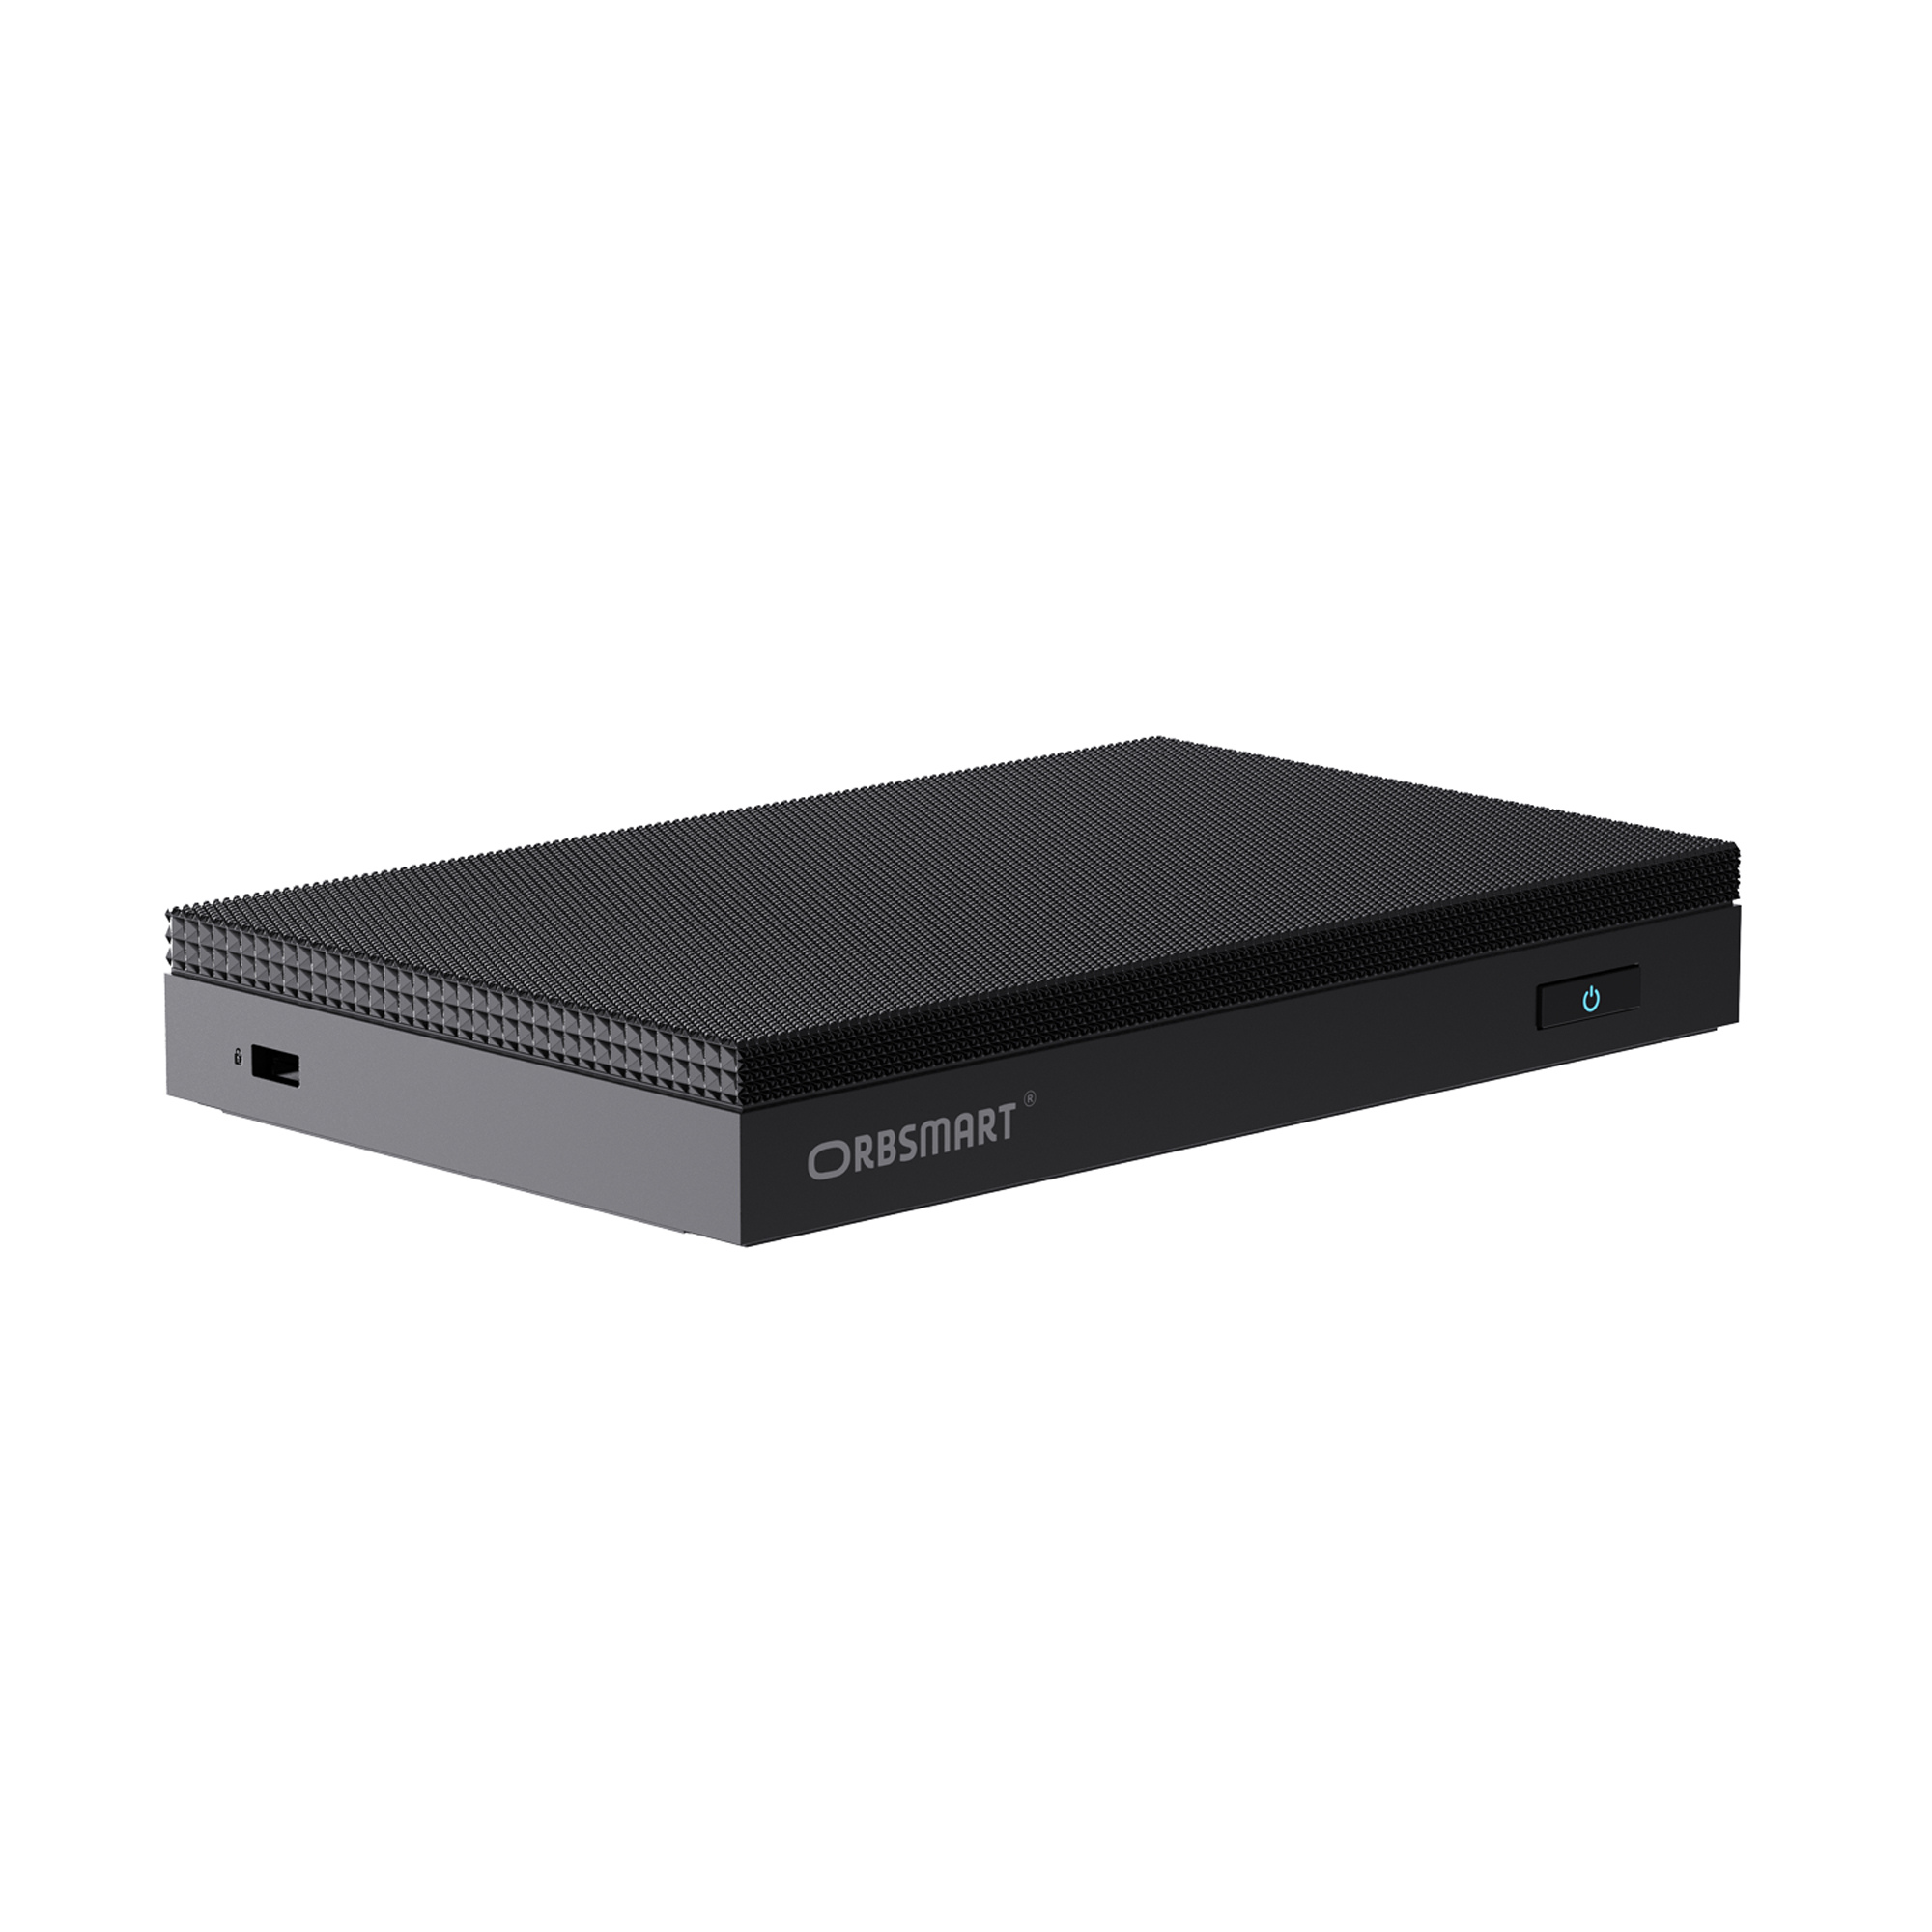
AW-16L
Maximum performance in minimum space. The Orbsmart AW-16L combines the brand new Intel N150 processor ("Twin Lake") with absolute silence. Ideal for productive work with up to three monitors, in the home office, or as a 24/7 continuous runner in industry.
Highlights at a glance

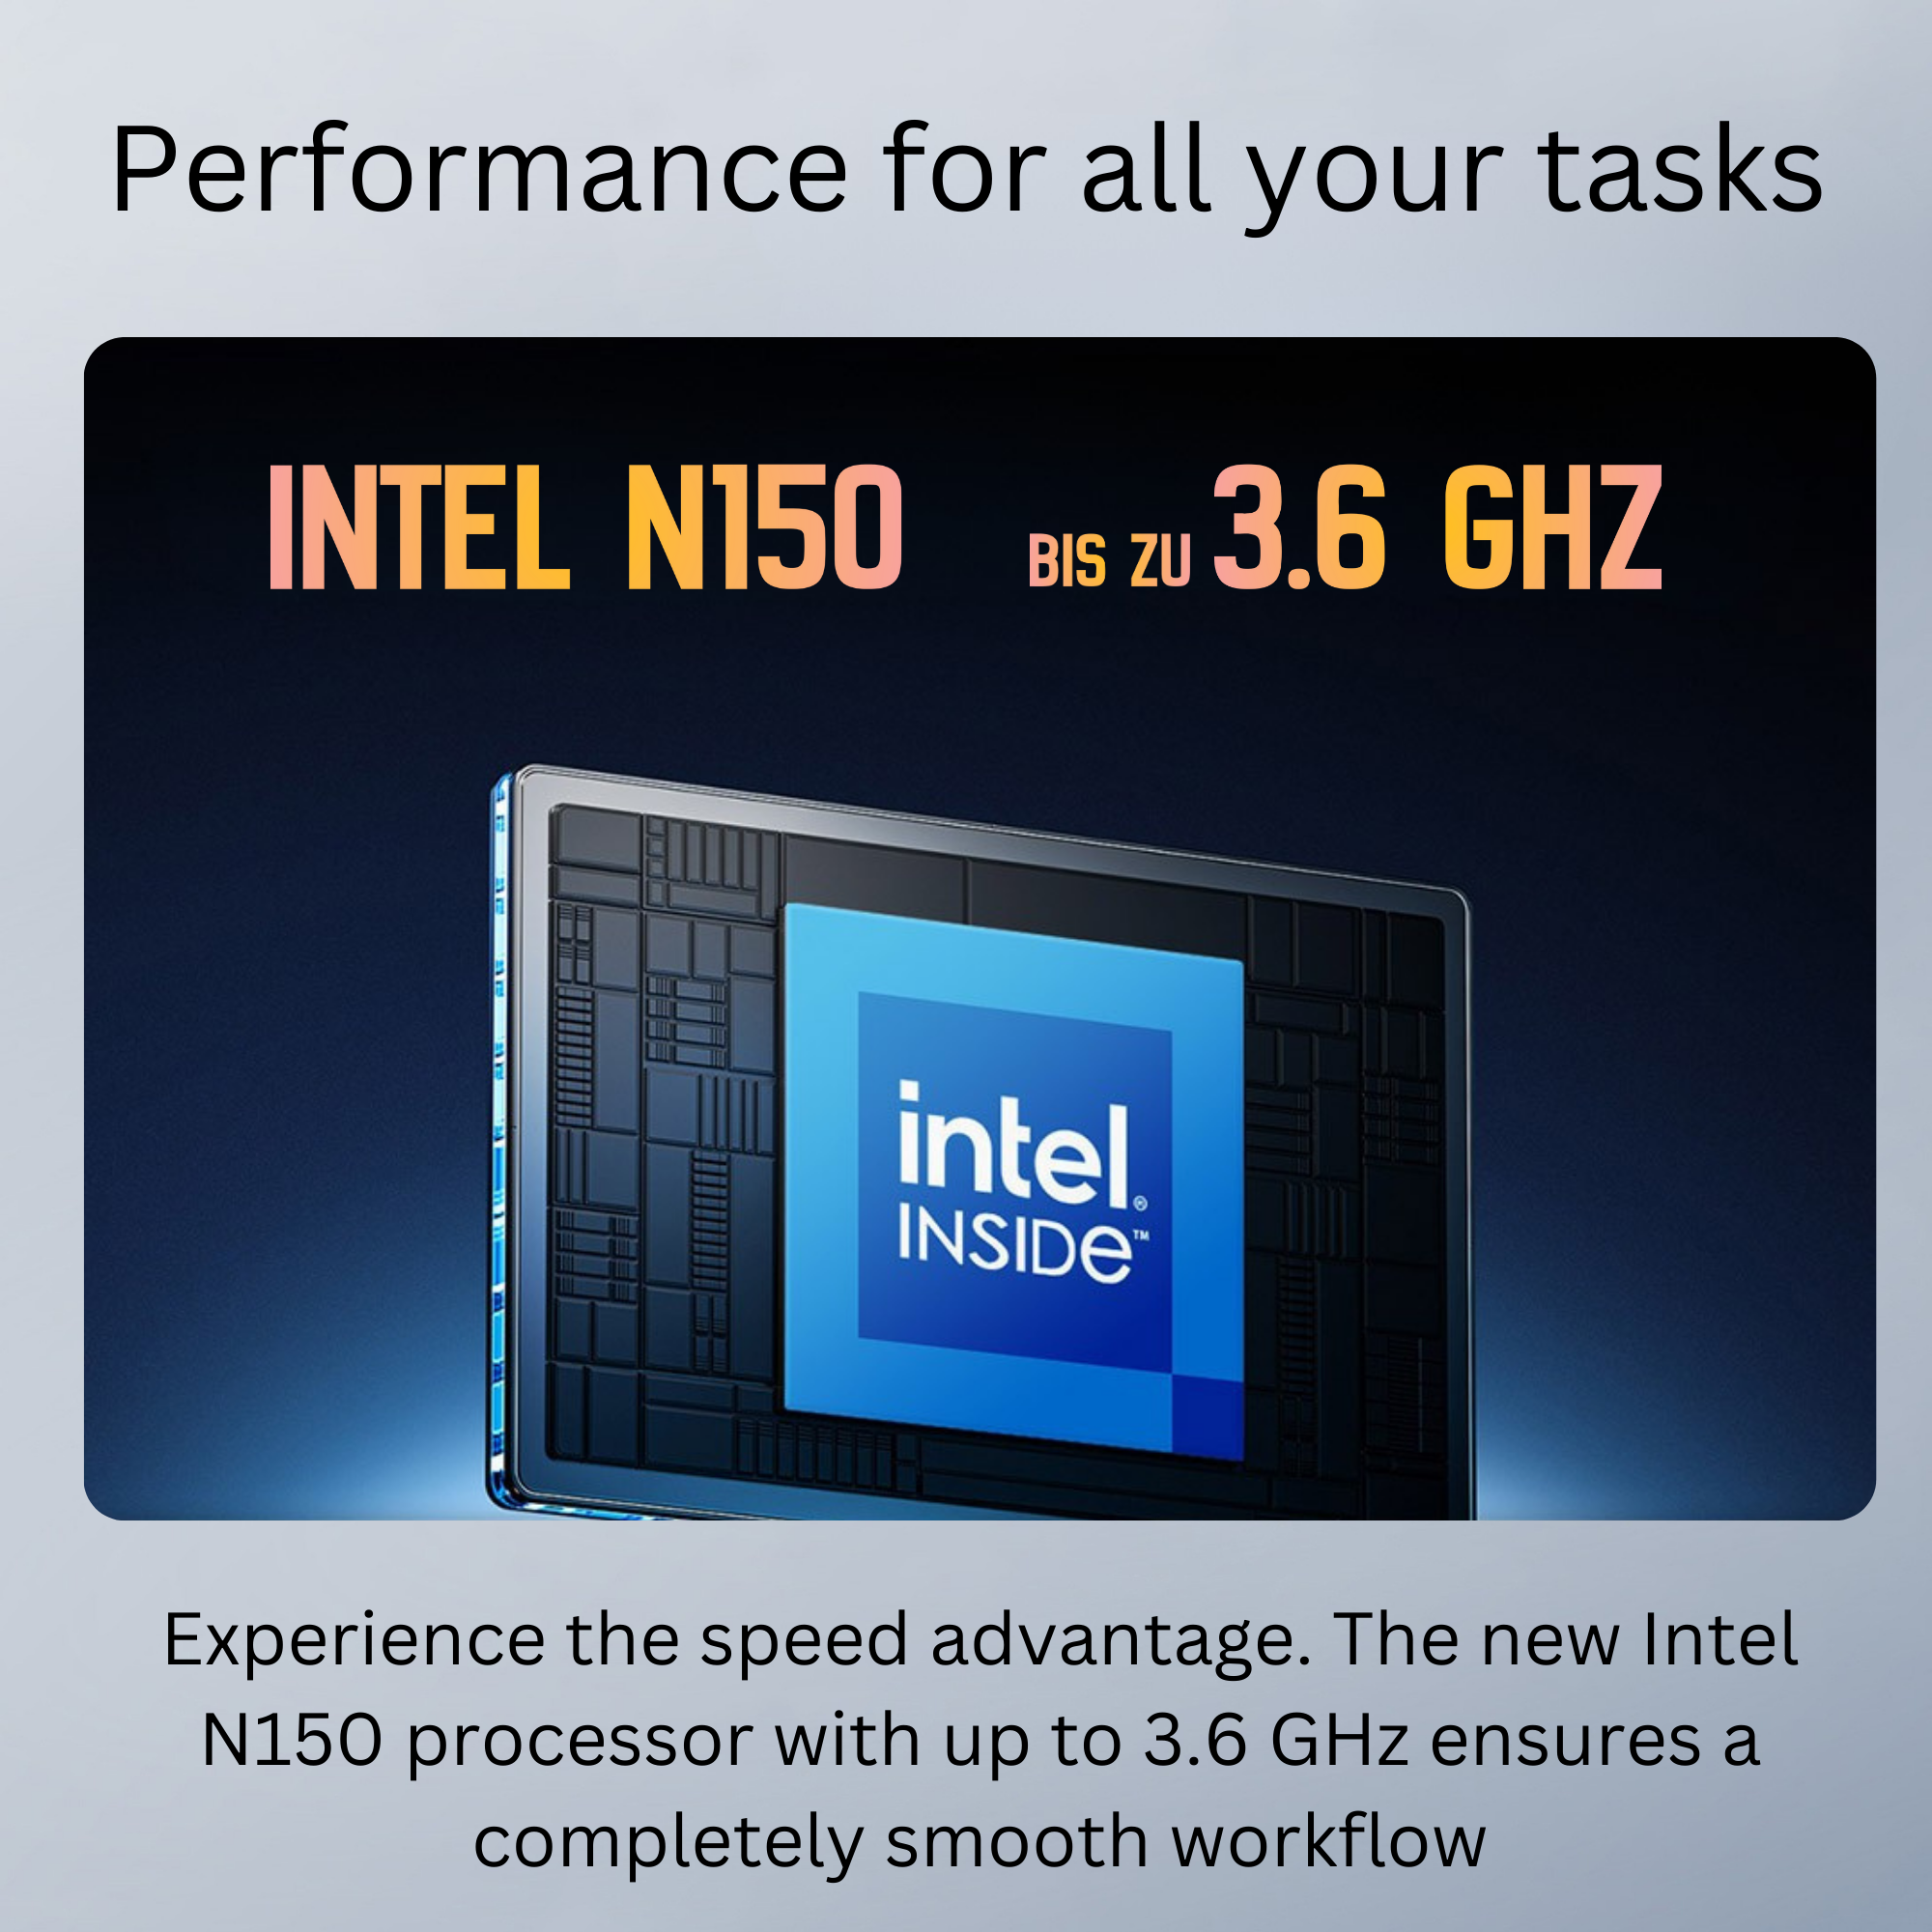
Intel N150 Power
The latest Twin-Lake architecture ensures noticeably more speed for office & multitasking.

Fanless Design
No fan, no noise, no dust. The passive cooling system enables maintenance-free 24/7 operation.

High-Speed Connect
With WiFi 6, Bluetooth 5.2, and Gigabit LAN, you are always connected at maximum speed.
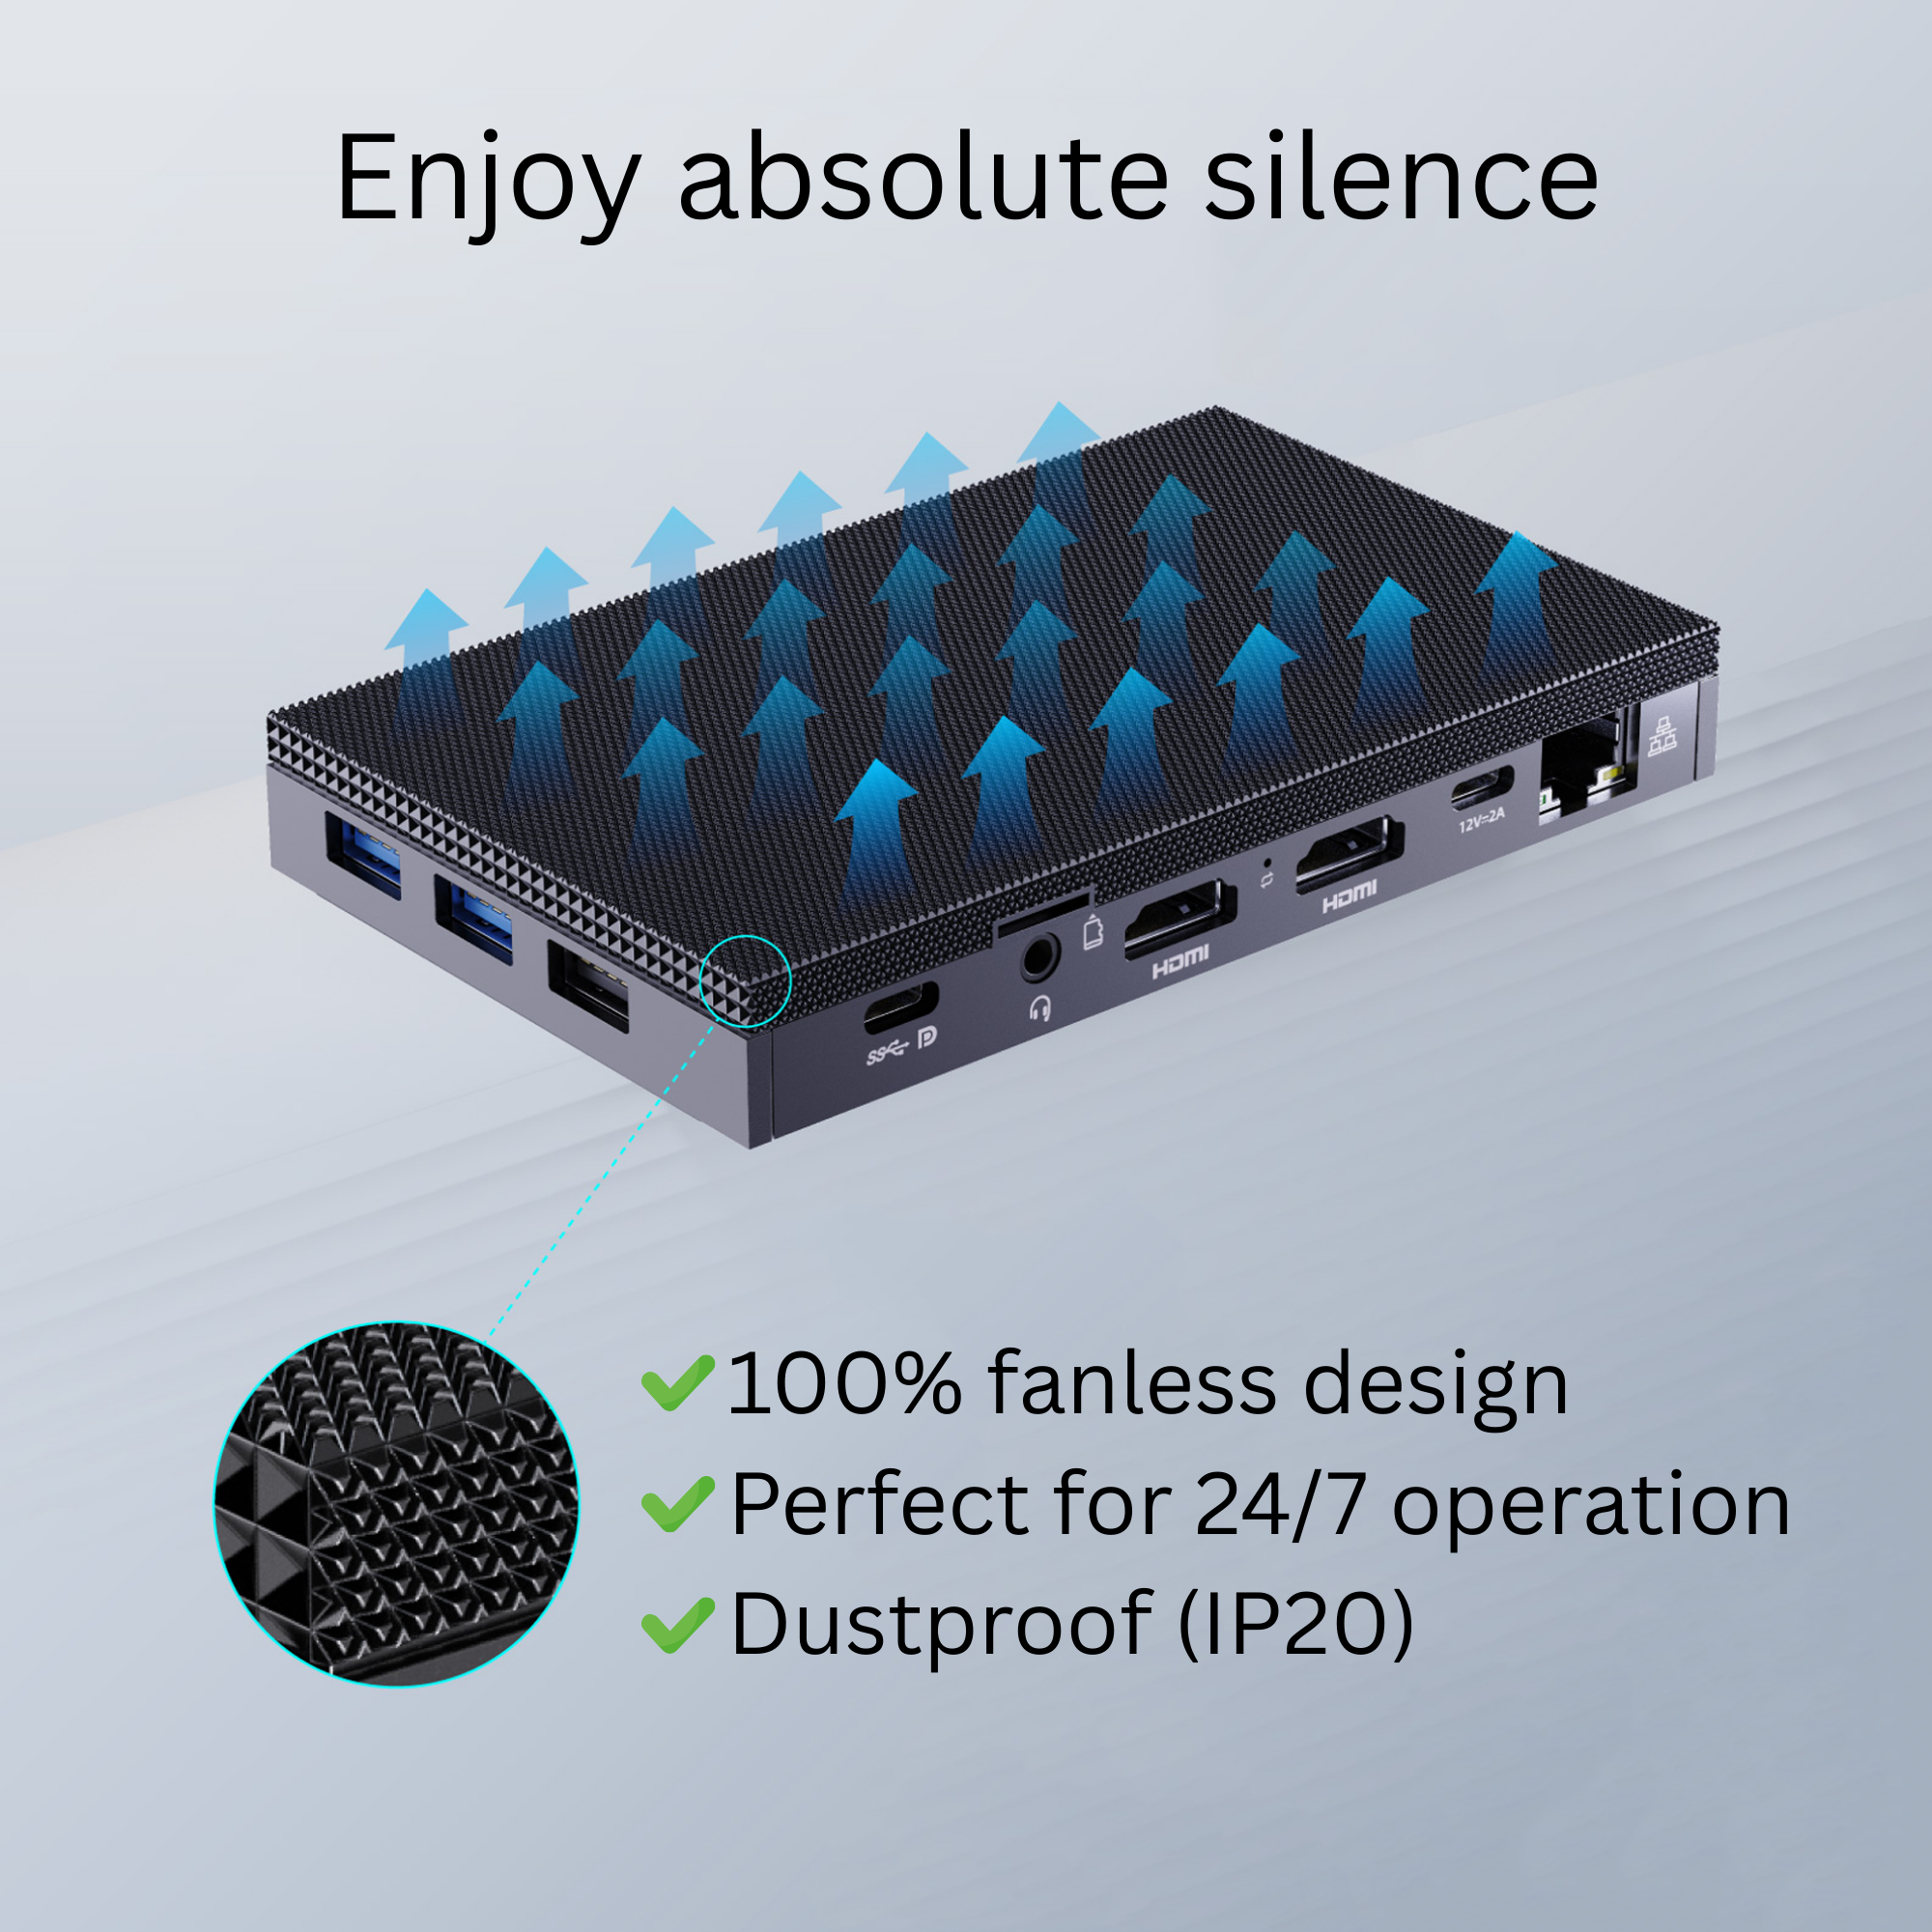
Absolutely silent - no compromises
Work in complete silence. The sophisticated passive cooling system dissipates heat efficiently through the housing. Without a mechanical fan, there are no noises and no moving parts – perfect for concentrated work or use in dusty environments.

Next Gen Performance
The heart is the new Intel N150 Quad-Core processor ("Twin Lake"). It offers significantly more reserves than its predecessors and masters office applications, web browsing, and streaming effortlessly and efficiently.

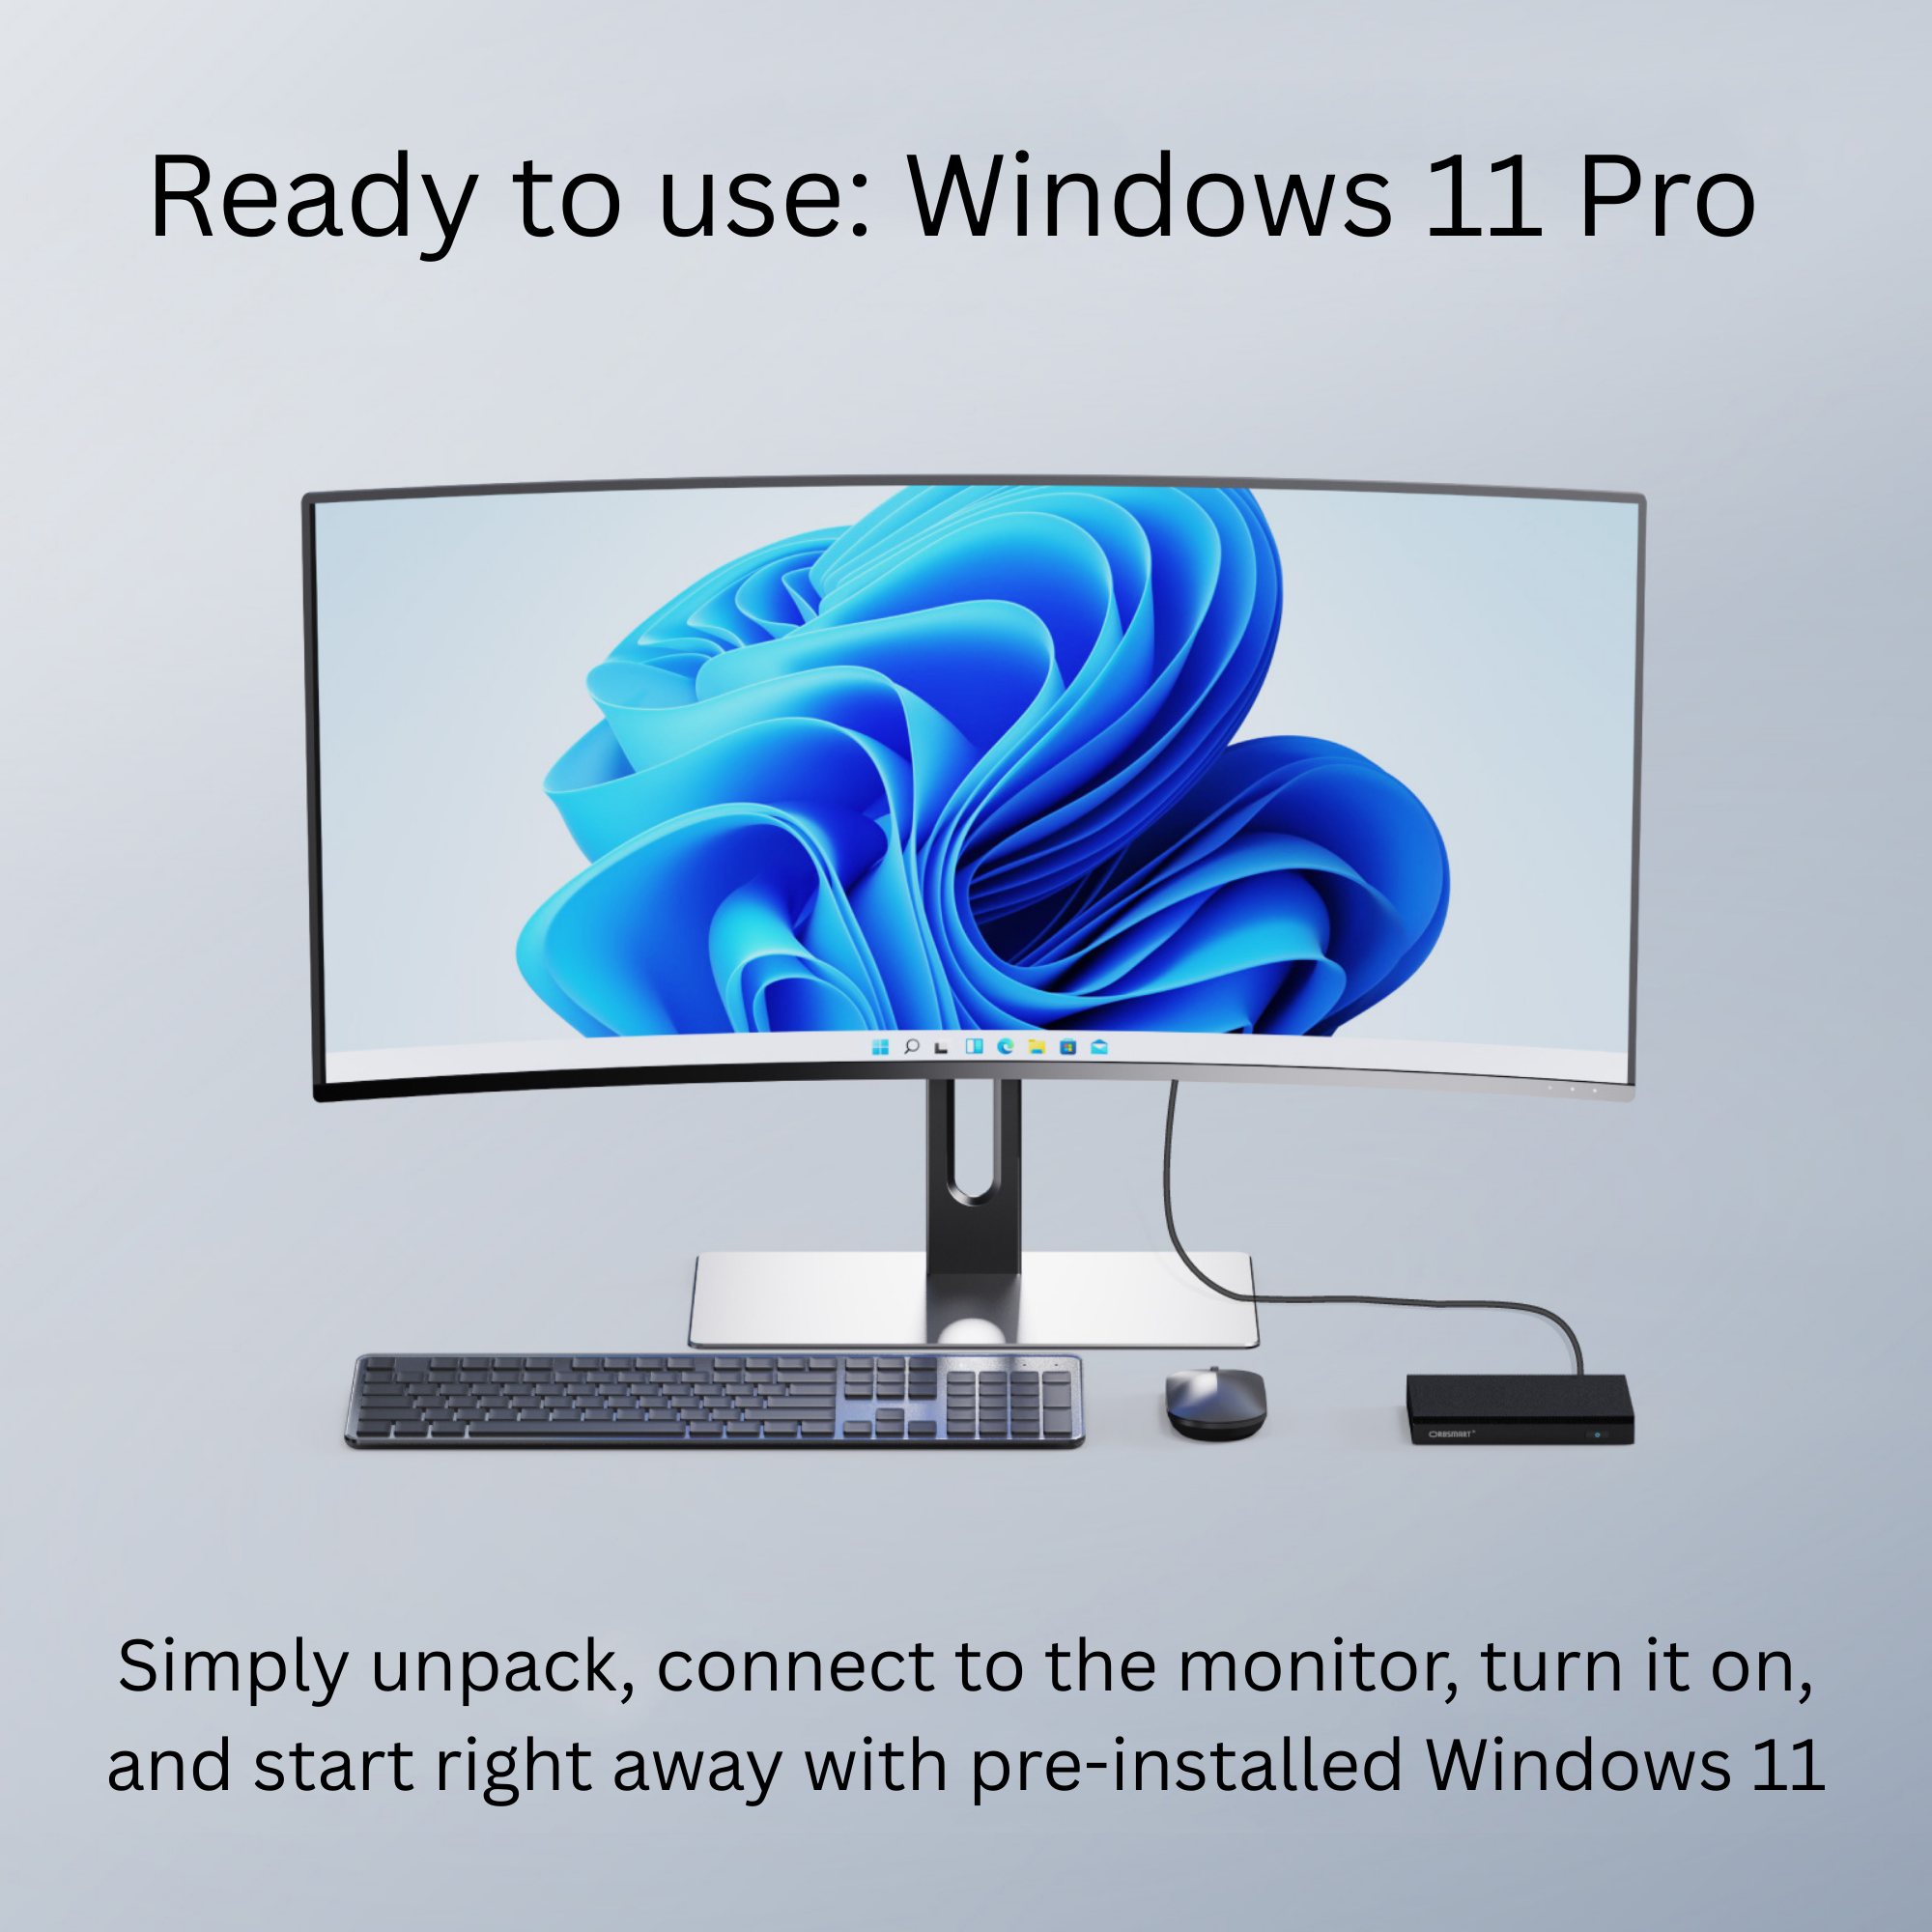
Windows 11 Pro on board
A full Windows 11 Professional version is already pre-installed and activated. Benefit from advanced security features (e.g., device encryption), simple network management, and full compatibility for professional environments. Switch on and start immediately.

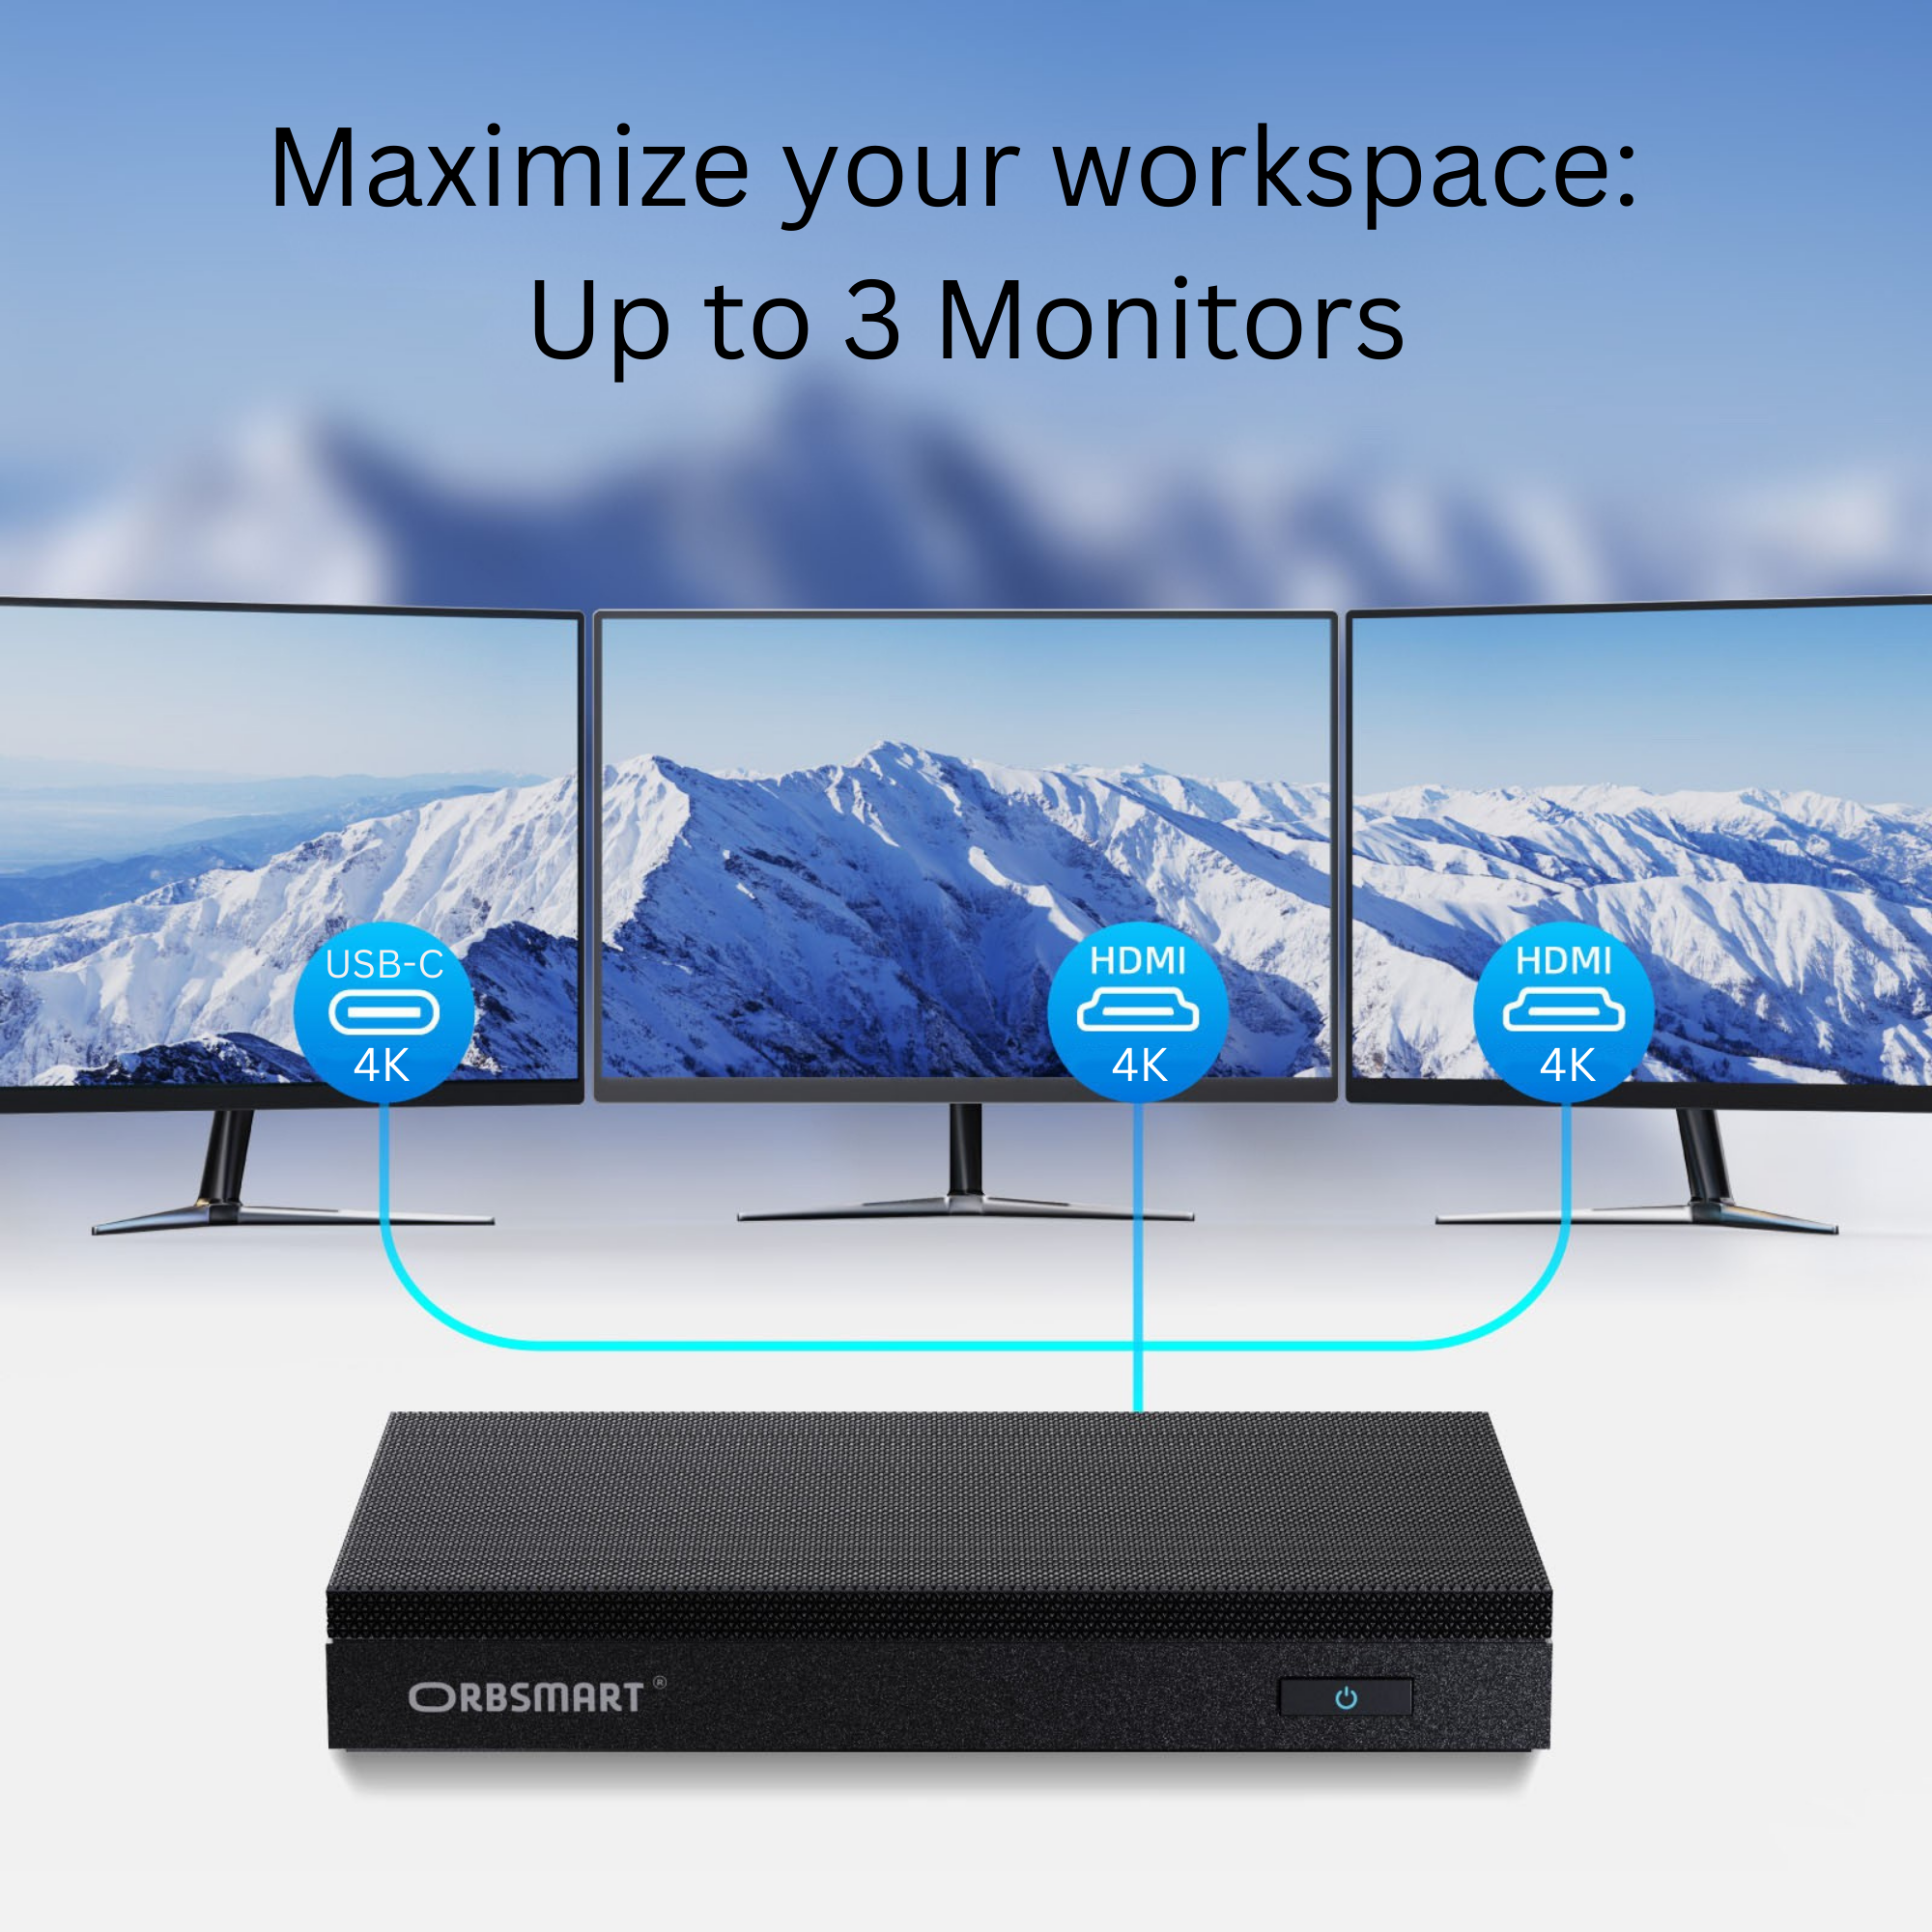
Triple Display: Everything in view
Boost your productivity. Connect up to three monitors simultaneously (2x HDMI, 1x USB-C). Ideal for complex workstations, digital signage, or stock exchange setups – all in brilliant 4K@60Hz resolution.

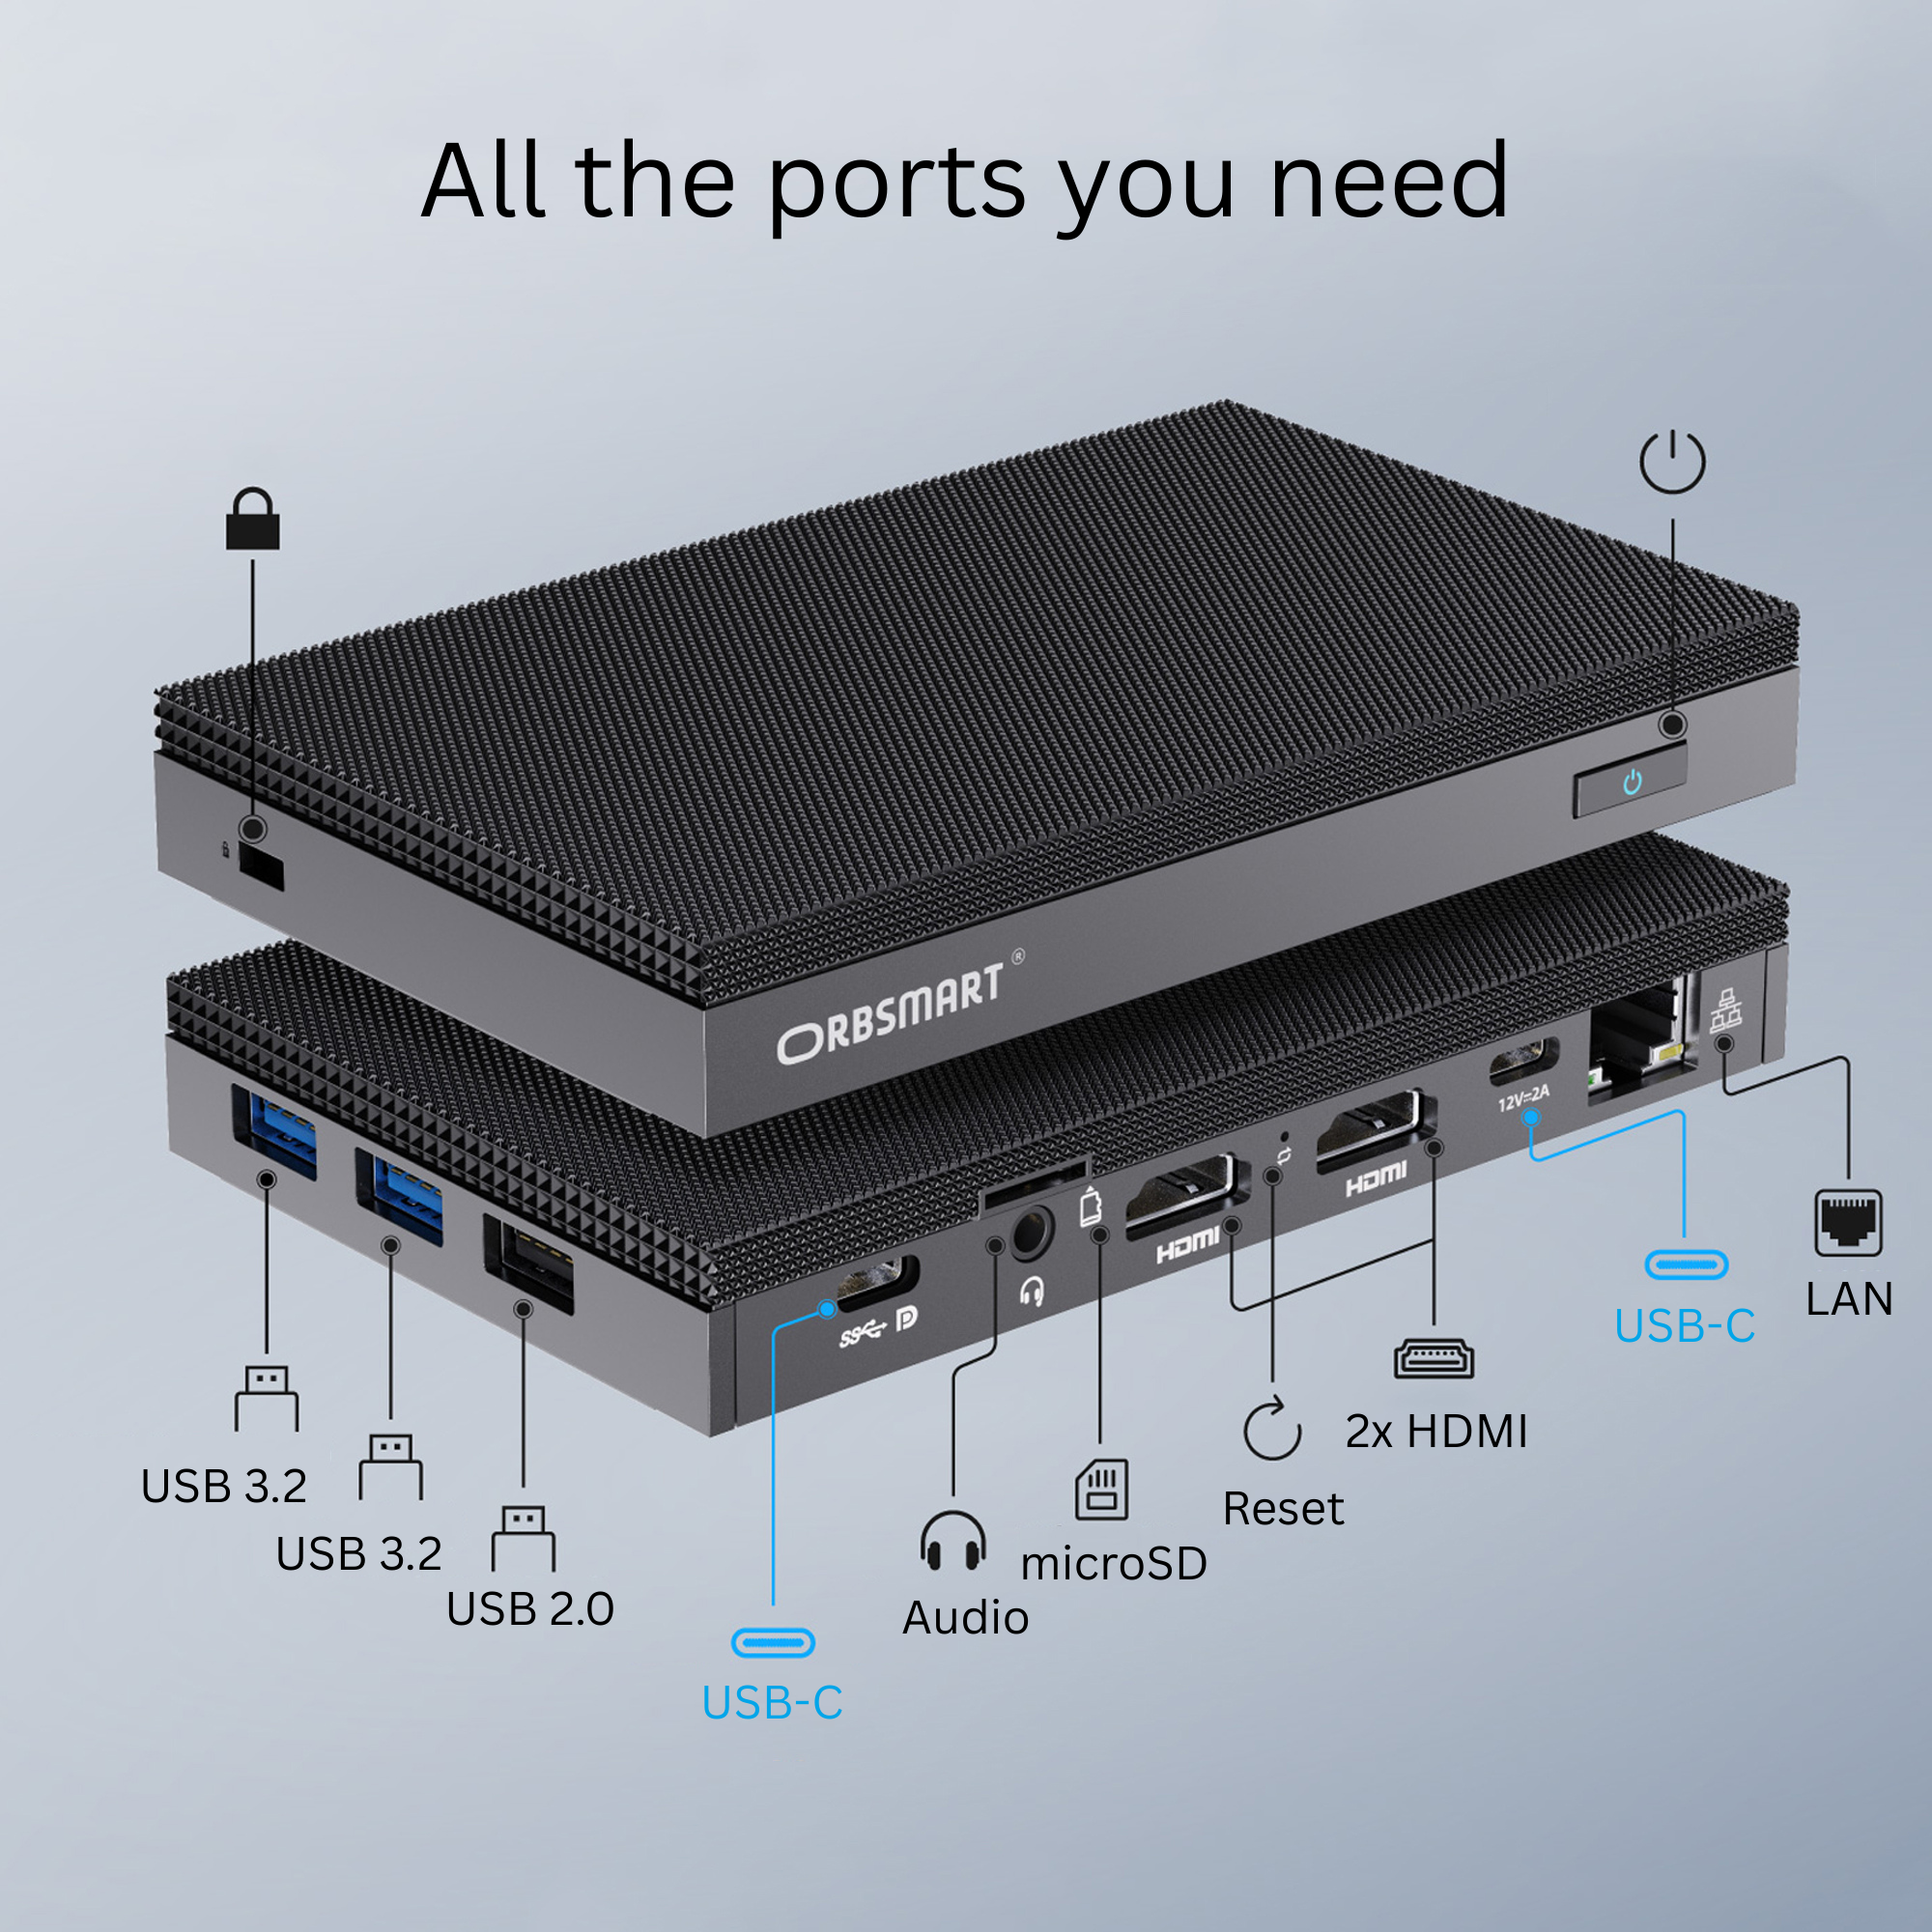
High-Speed Connectivity
Stay connected. With WiFi 6 and Bluetooth 5.2, you are transmitting with state-of-the-art technology. The versatile USB-C port transfers data, video signals, and power, while Gigabit LAN ensures stable network connections.

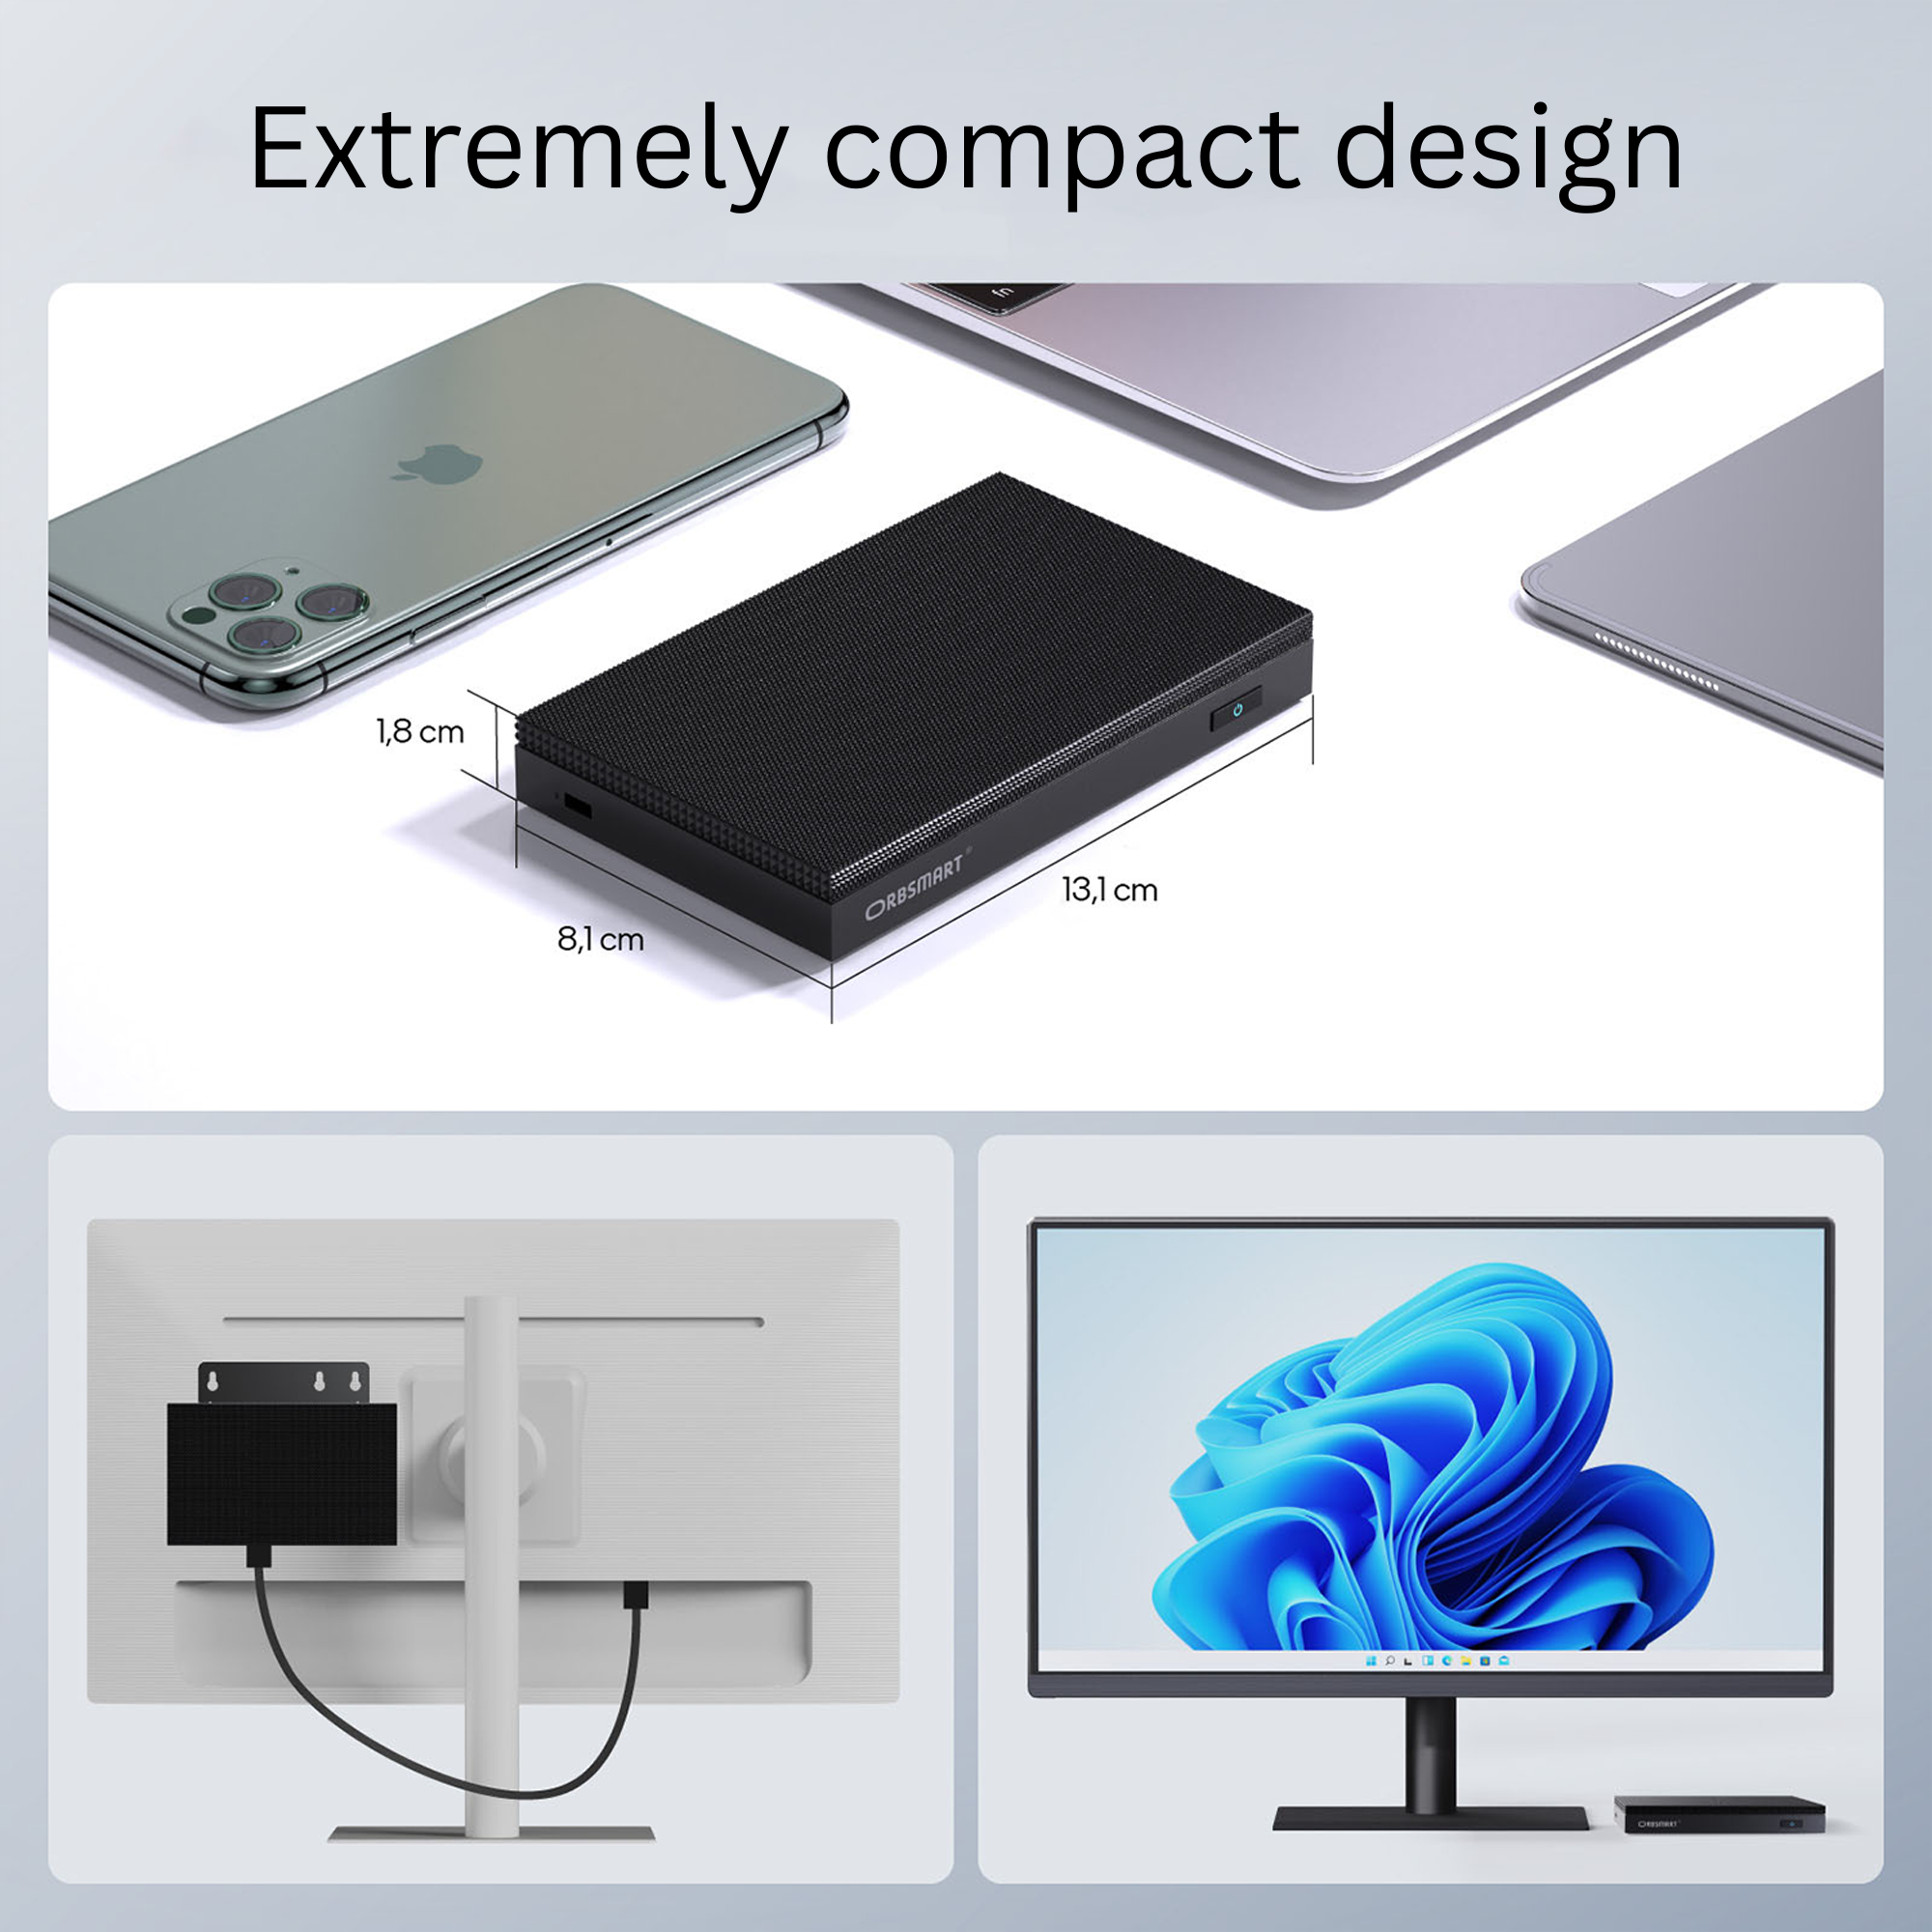
Invisible Mounting
Save space on your desk. Thanks to the included VESA mount, the AW-16L can be easily attached directly to the back of your monitor or to the wall.

Verified Quality & Support
We are based in Germany. Every device is carefully checked. If you have any questions, our support team is available to help you directly and competently. Rely on hardware built for continuous operation.

Technical Specifications
Frequently Asked Questions
What is the difference between the variants (8GB vs 16GB)?
The 8GB version has 256GB internal eMMC storage. The M.2 slot (2280 NVMe) inside is free for your own SSD.
The 16GB version already comes with an installed 512GB SSD occupying this M.2 slot.
Does the Mini-PC get hot during operation?
Since the AW-16L works without a fan, it uses the housing for heat dissipation. It is therefore completely normal and technically intended for the housing to become warm. The installed components are designed for these temperatures.
Is a VESA mount included?
Yes, a VESA mounting plate (for 75x75 and 100x100mm) including screws is included in the scope of delivery. This allows the Mini-PC to be easily mounted behind monitors or on walls.
Does the device support Autostart?
Yes, professional functions such as "Auto Power On" (automatic switch-on after power supply), "Wake on LAN" (WOL), PXE boot, and RTC Wake-Up can be activated in the BIOS.
Is Windows 11 Pro activated?
Yes, a fully licensed version of Windows 11 Professional is pre-installed and activated on the Orbsmart AW-16L. All drivers are already installed. English and German language packs are included; other languages can easily be installed. A hidden recovery partition is available for emergencies.
Knowledge Base & Expert Settings
Advanced configuration for the Intel N150 (Twin Lake).
How do I enter the BIOS / Boot Menu?
- Turn on the mini PC (or restart it).
- Immediately and repeatedly press the corresponding key on your keyboard before the Windows logo appears.
- BIOS Setup: Press Del.
- Boot Menu: Press F7 (e.g., to boot from a USB stick).
Guide: Enable Wake on LAN (WOL)
- Start the PC and immediately press Del repeatedly.
- Go to the Advanced tab.
- Select the menu item Customer Exclusive Functions.
- Set "Wake on LAN" to Enabled.
- Press F4 to save & restart.
- Press Windows + X and select "Device Manager".
- Open the "Network adapters" category.
- Right-click on "Realtek PCIe GBE Family Controller" -> Properties.
- Switch to the Power Management tab.
- Check the box for: "Allow this device to wake the computer".
- Confirm with OK.
The above steps enable WOL in the local network. For waking over the Internet, you must additionally set up a port forwarding (usually UDP Port 9) to the static IP address of the AW-16L in your router ("Magic Packet").
Auto Power On (Start upon power supply)
- When starting, immediately press Del repeatedly to enter the BIOS.
- Navigate to: Advanced -> Customer Exclusive Functions.
- Select Auto Power On.
- Change the value to Enabled.
- Save with F4.
Enable PXE Boot (Network boot)
- Enter the BIOS (Press Del).
- Navigate to: Advanced -> Network Stack Configuration.
- Set "Network Stack" to Enabled.
- Set "IPv4 PXE Support" to Enabled.
- Save with F4.
- After the restart, immediately press F7 repeatedly and select "UEFI:PXE IPv4 Realtek PCIe Family Controller" in the boot menu.
Change Boot Order (USB/SSD)
- Enter the BIOS (Press Del).
- Switch to the Boot tab.
- Go to Boot Option Priorities.
- Select Boot Option #1 and set your desired startup drive there (e.g., Windows Boot Manager or USB Device).
- Save with F4 (Save & Exit).
Disable Sleep Mode & Hard Drive Sleep (24/7)
- Open the Control Panel.
- Go to System and Security -> Power Options.
- Click on "Change plan settings" next to the active plan -> "Change advanced power settings".
- Hard disk: Set "Turn off hard disk after" to 0 (Never).
- Sleep: Also set "Sleep after" to 0 (Never).
- Click Apply and OK.
Install Ubuntu 24.04 (Linux)
- Download the Ubuntu 24.04 image from the official website.
- Open the ISO file by right-clicking -> Mount.
- Copy all files from the virtual drive directly to a USB stick (formatted as NTFS).
- Plug the stick into the AW-16L.
- Start the PC and immediately press F7 repeatedly.
- Select your USB stick (UEFI) in the boot menu.
- Select "Try or Install Ubuntu" and follow the on-screen instructions (network, account).
- After completion, remove the stick and press Enter.
* Intel, the Intel logo, and other Intel marks are trademarks of Intel Corporation or its subsidiaries.
* Microsoft, Windows, and the Windows logo are registered trademarks of Microsoft Corporation.
* All other trademarks are the property of their respective owners.
* Technical specifications subject to change.
