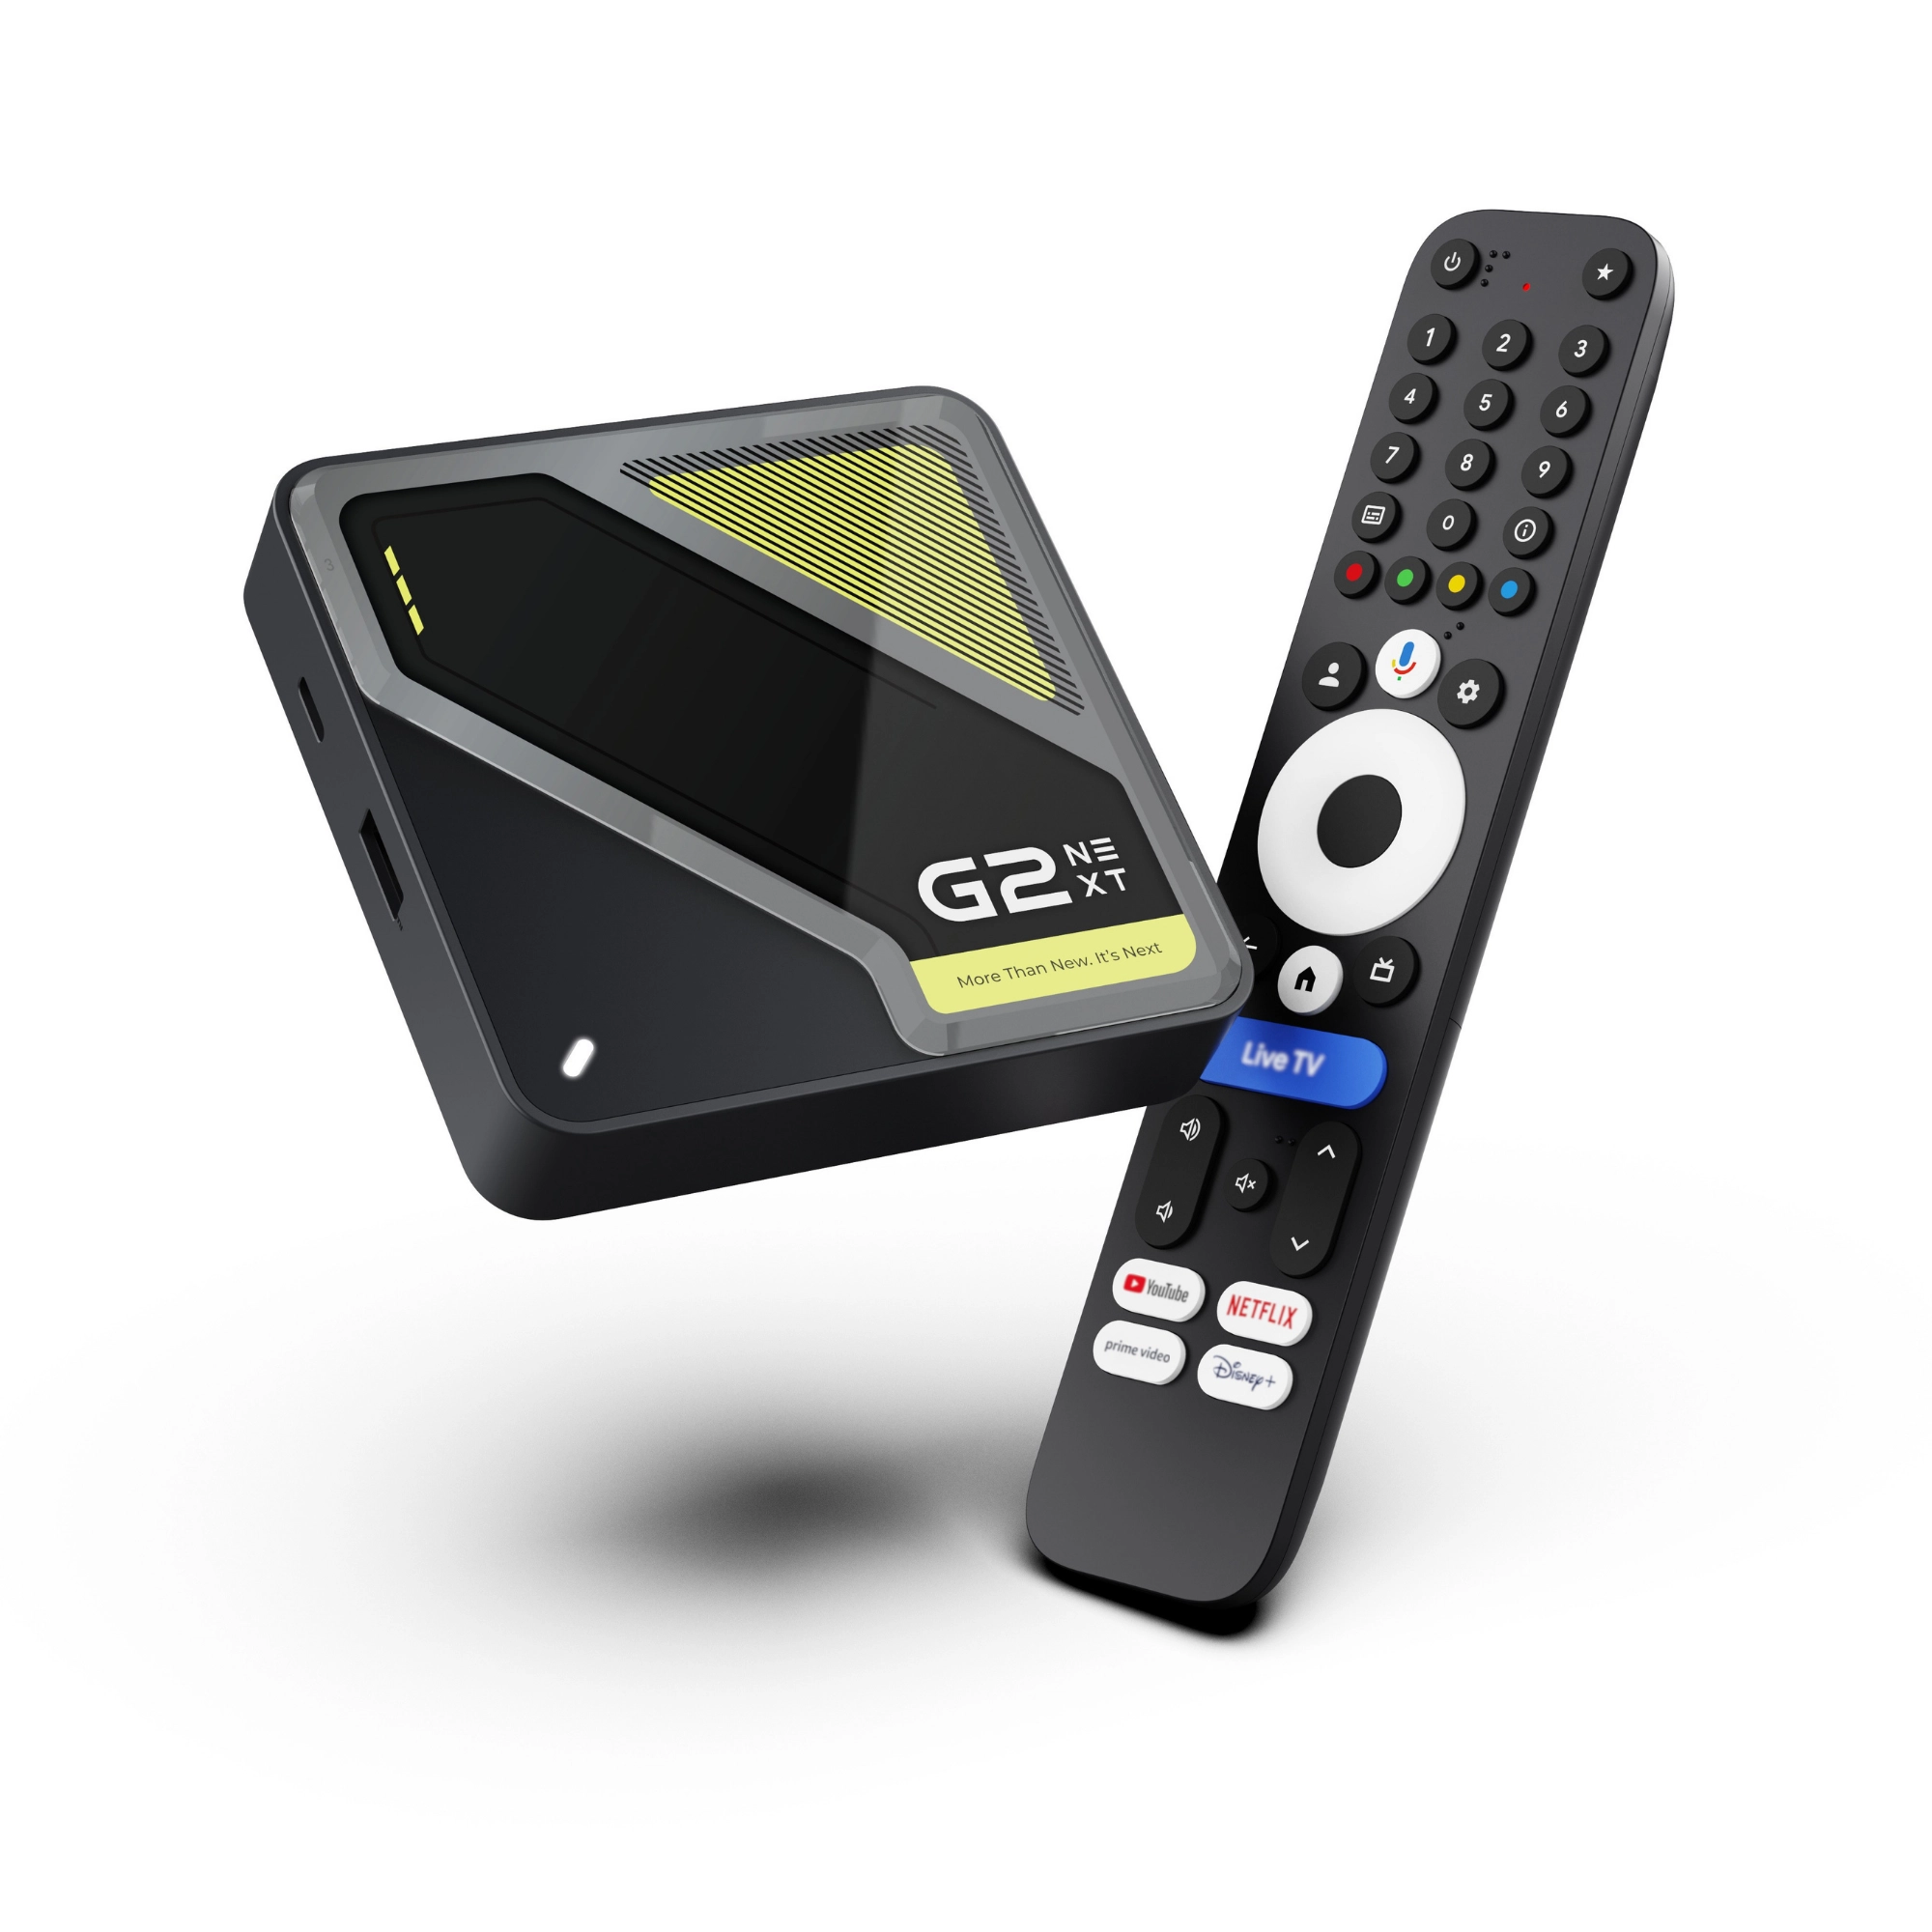

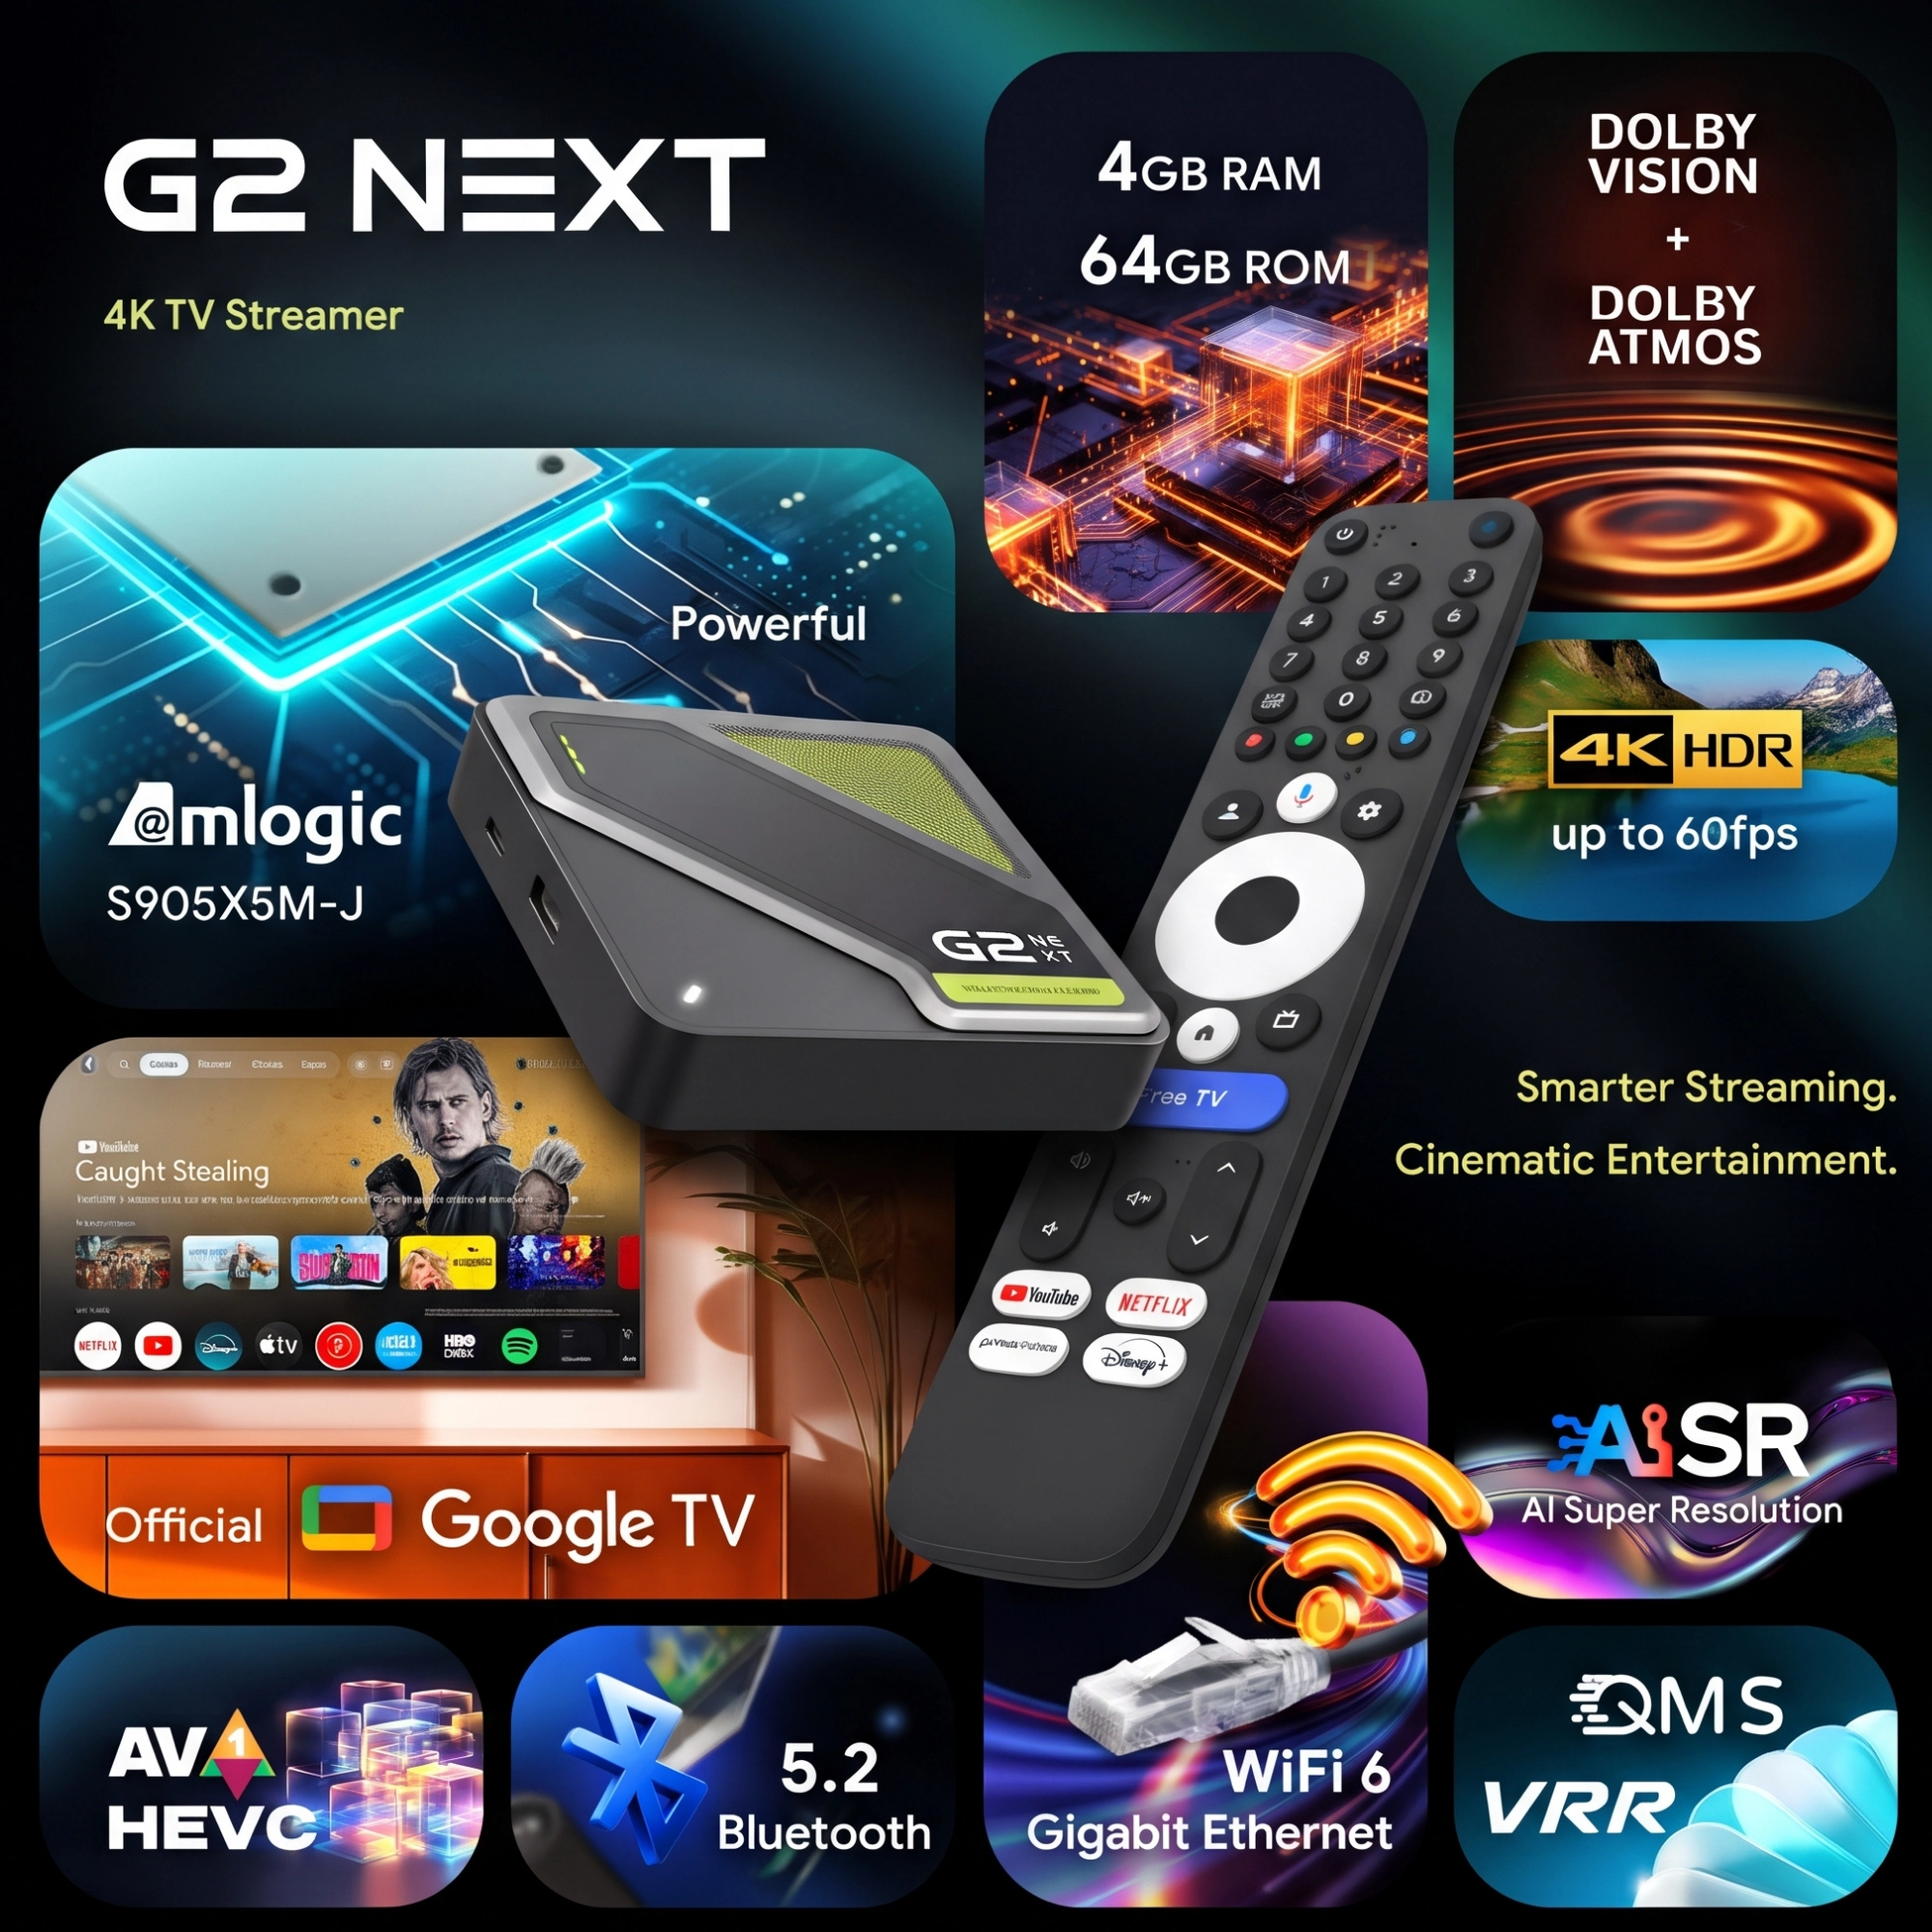
G2 Next – 4K Google TV Streaming Box
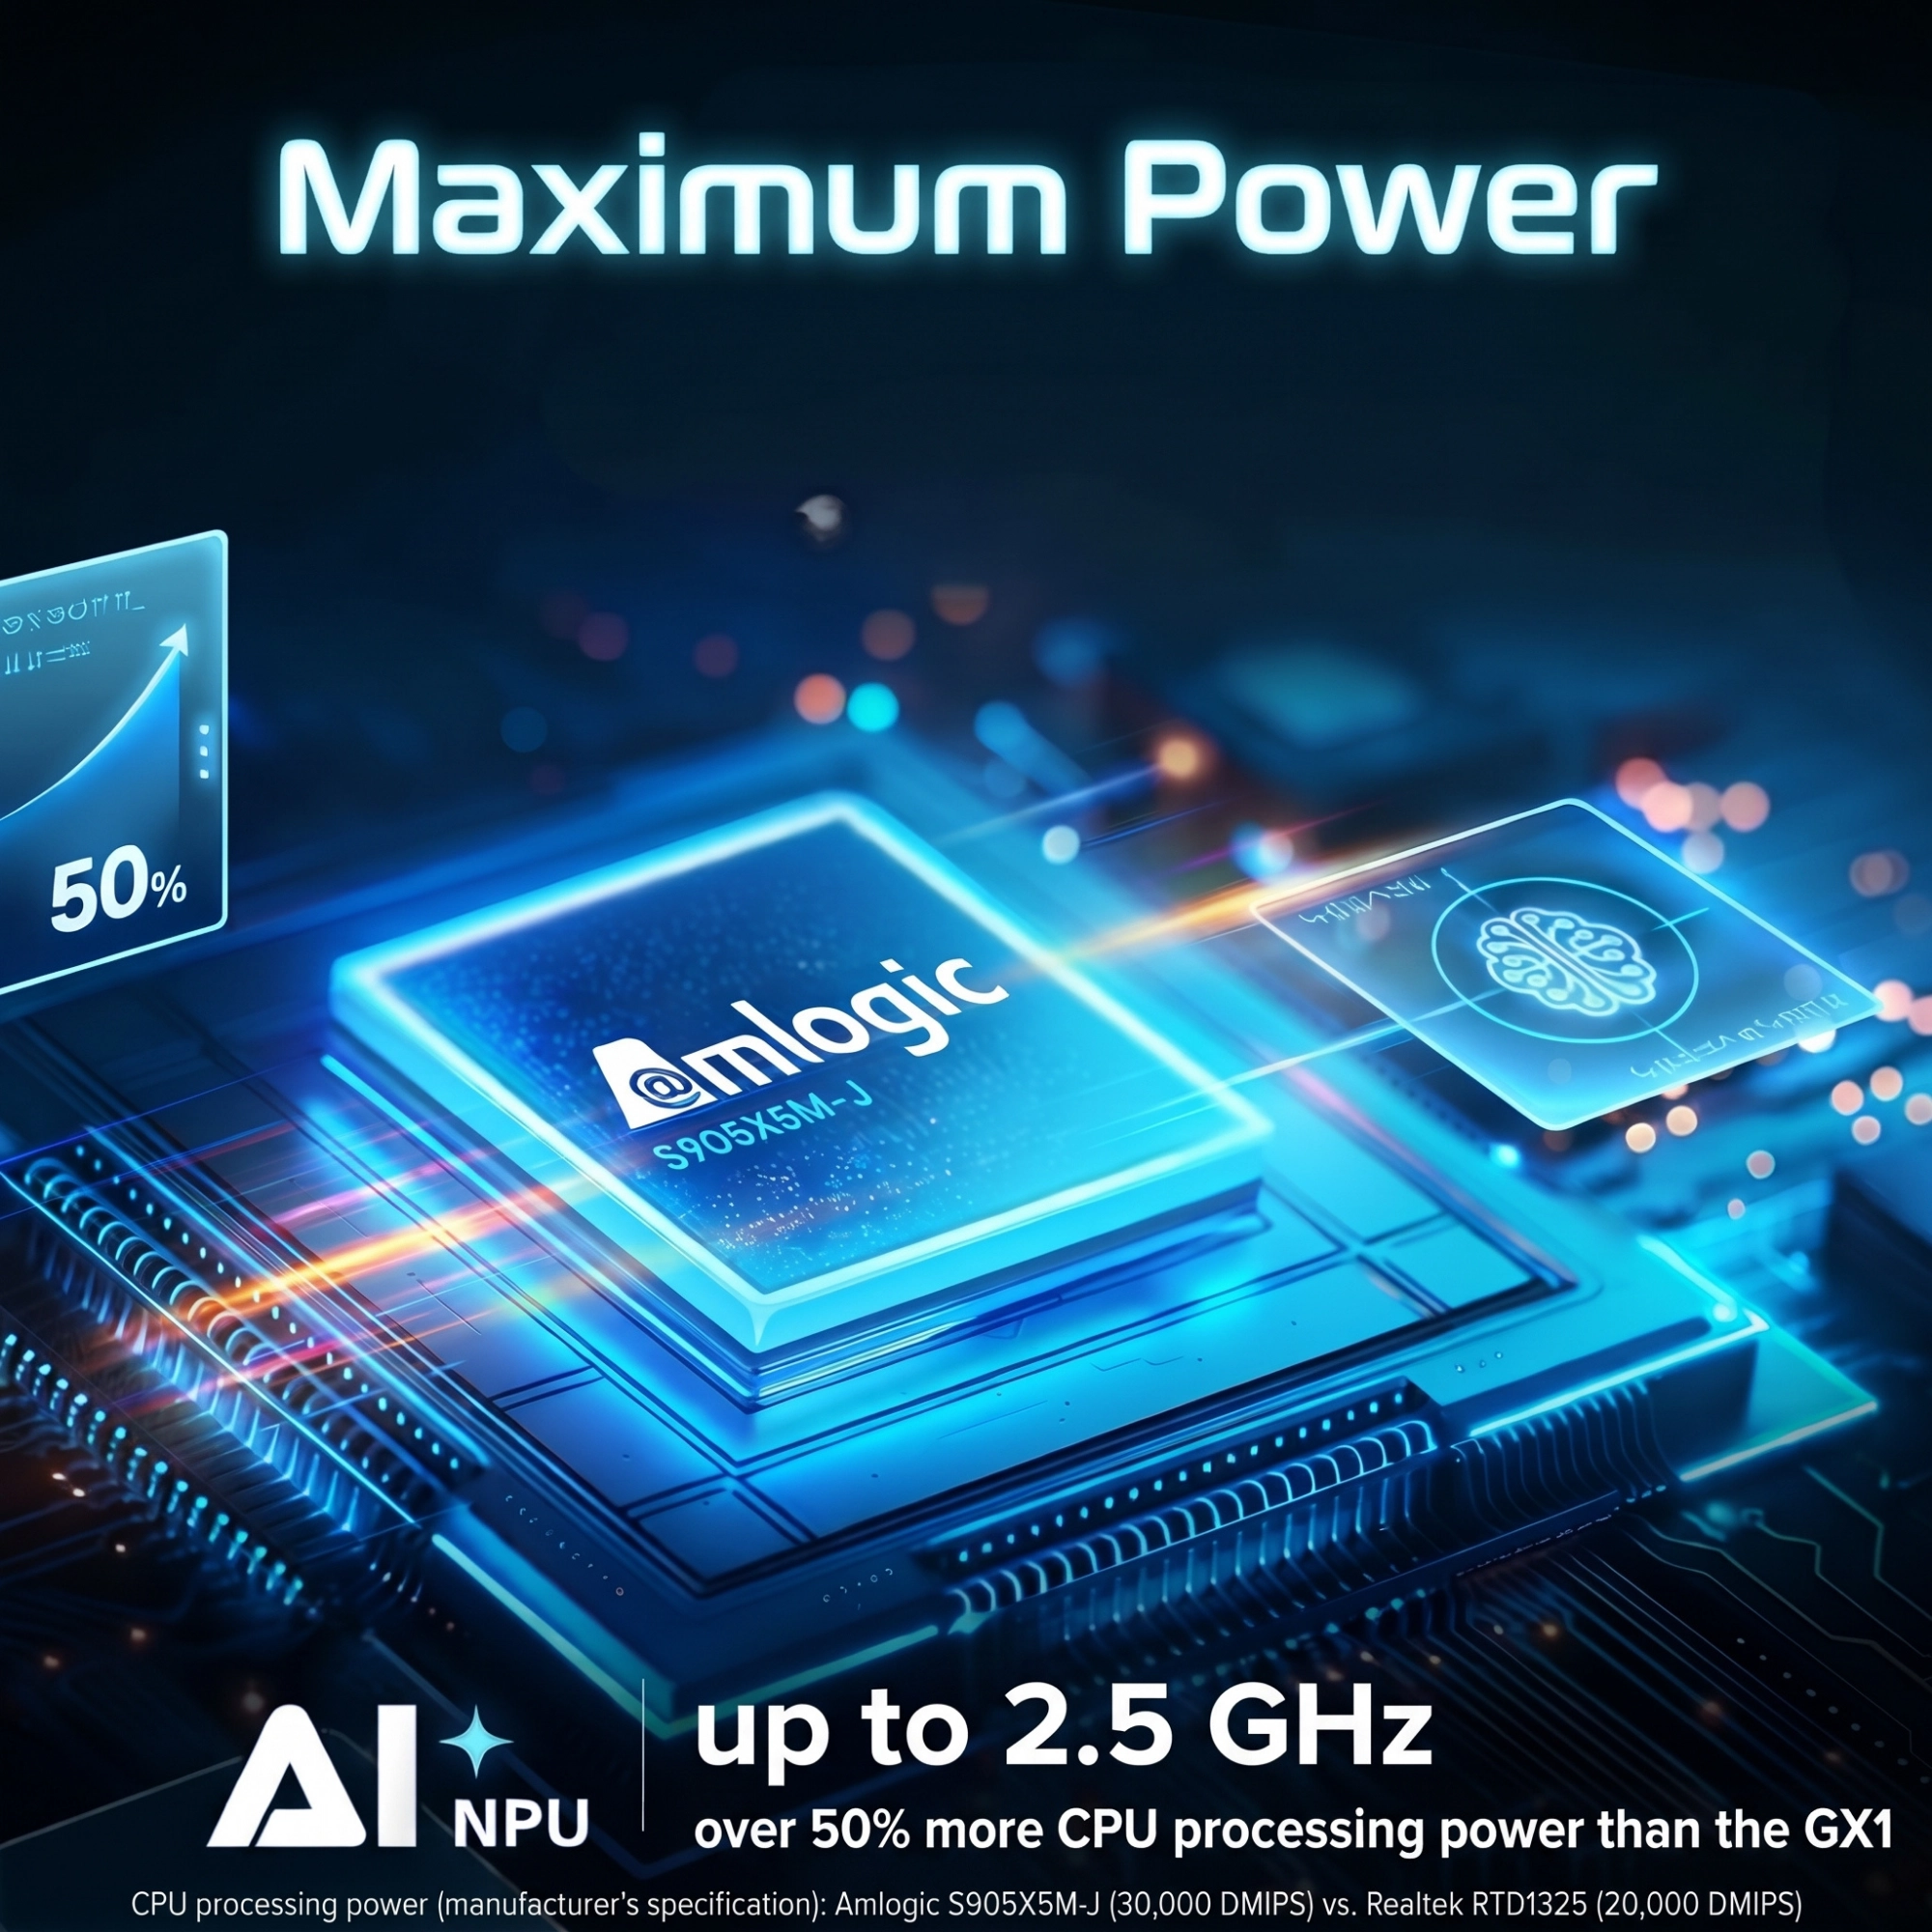
Our most powerful home cinema upgrade: The G2 Next combines 50% more processor power¹, doubled 64 GB storage, and Gigabit LAN with full Dolby Vision & Atmos support.
Buy in official shopHighlights at a glance

Dolby Vision & AI
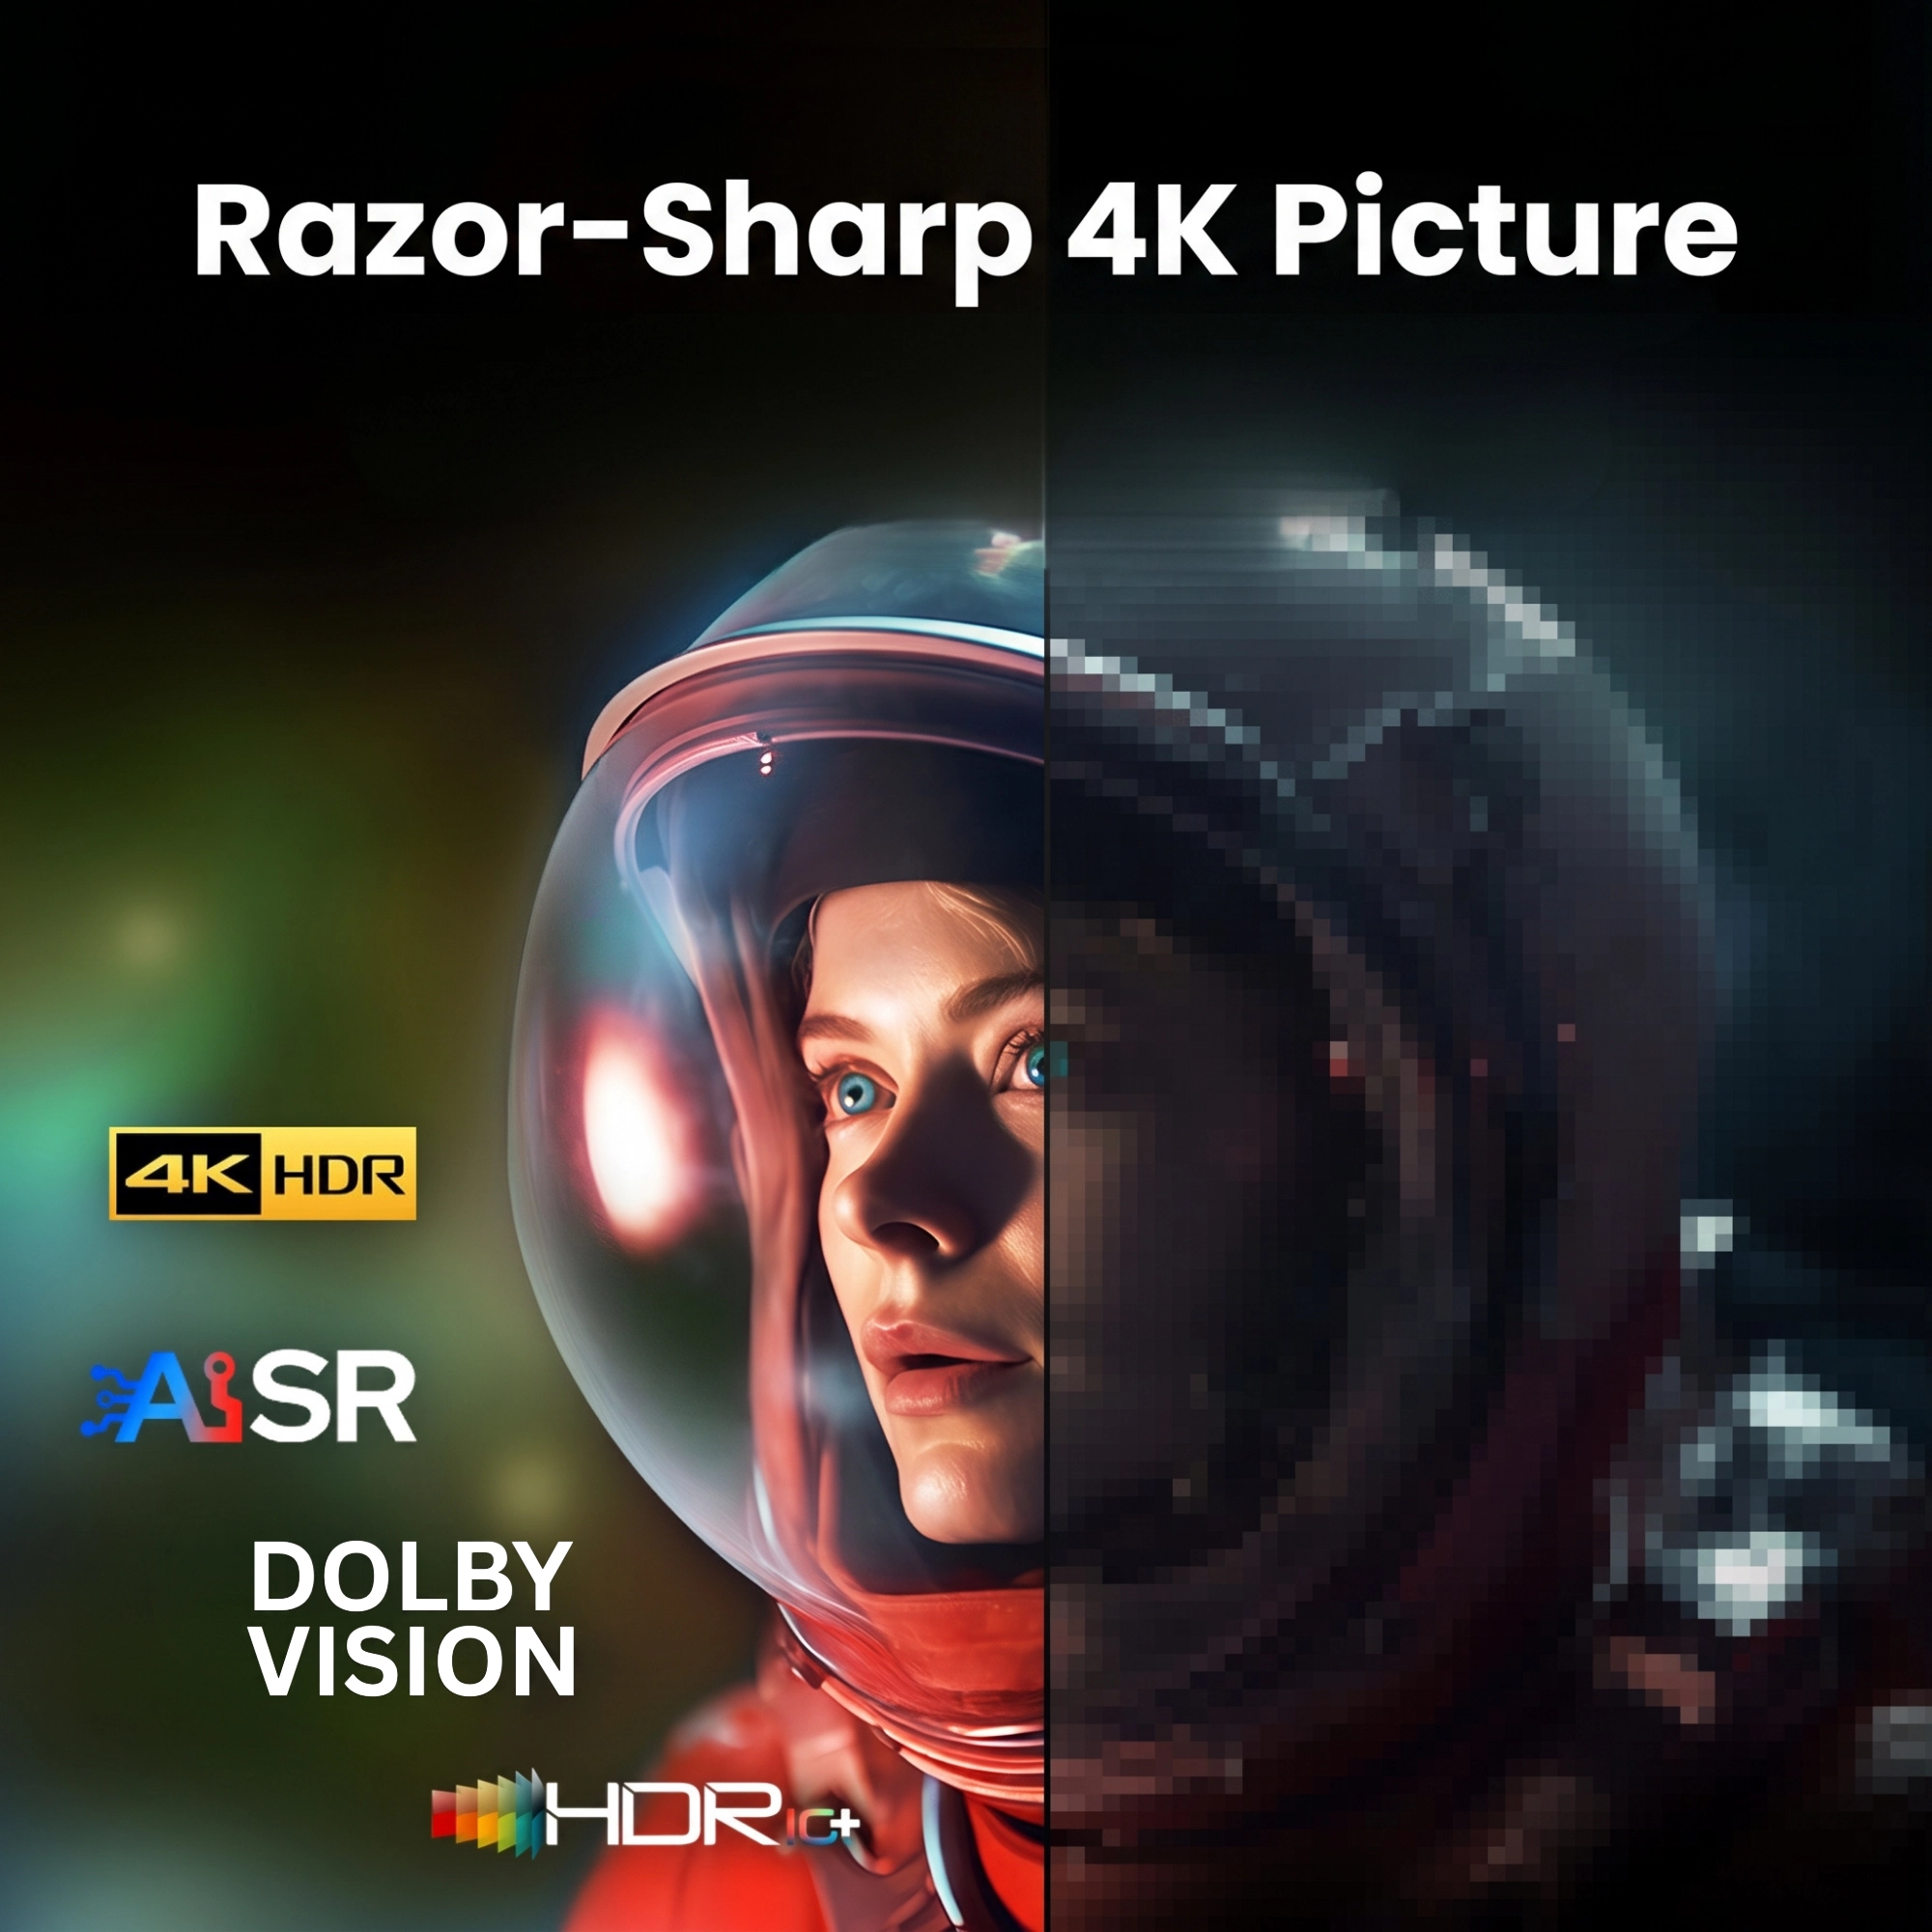
Breathtaking 4K picture quality thanks to Dolby Vision, HDR10+ support, and intelligent AI picture optimization for visibly enhanced sharpness.

Smart Google TV 14 Hub
Experience a fast, intuitive interface with 64 GB storage that bundles all your streaming services – including voice control and Play Store.

Gigabit LAN & WiFi 6
Always connected at top speed: Enjoy rock-solid 4K streaming without buffering thanks to true Gigabit LAN and modern WiFi 6.
Cinema feeling redefined
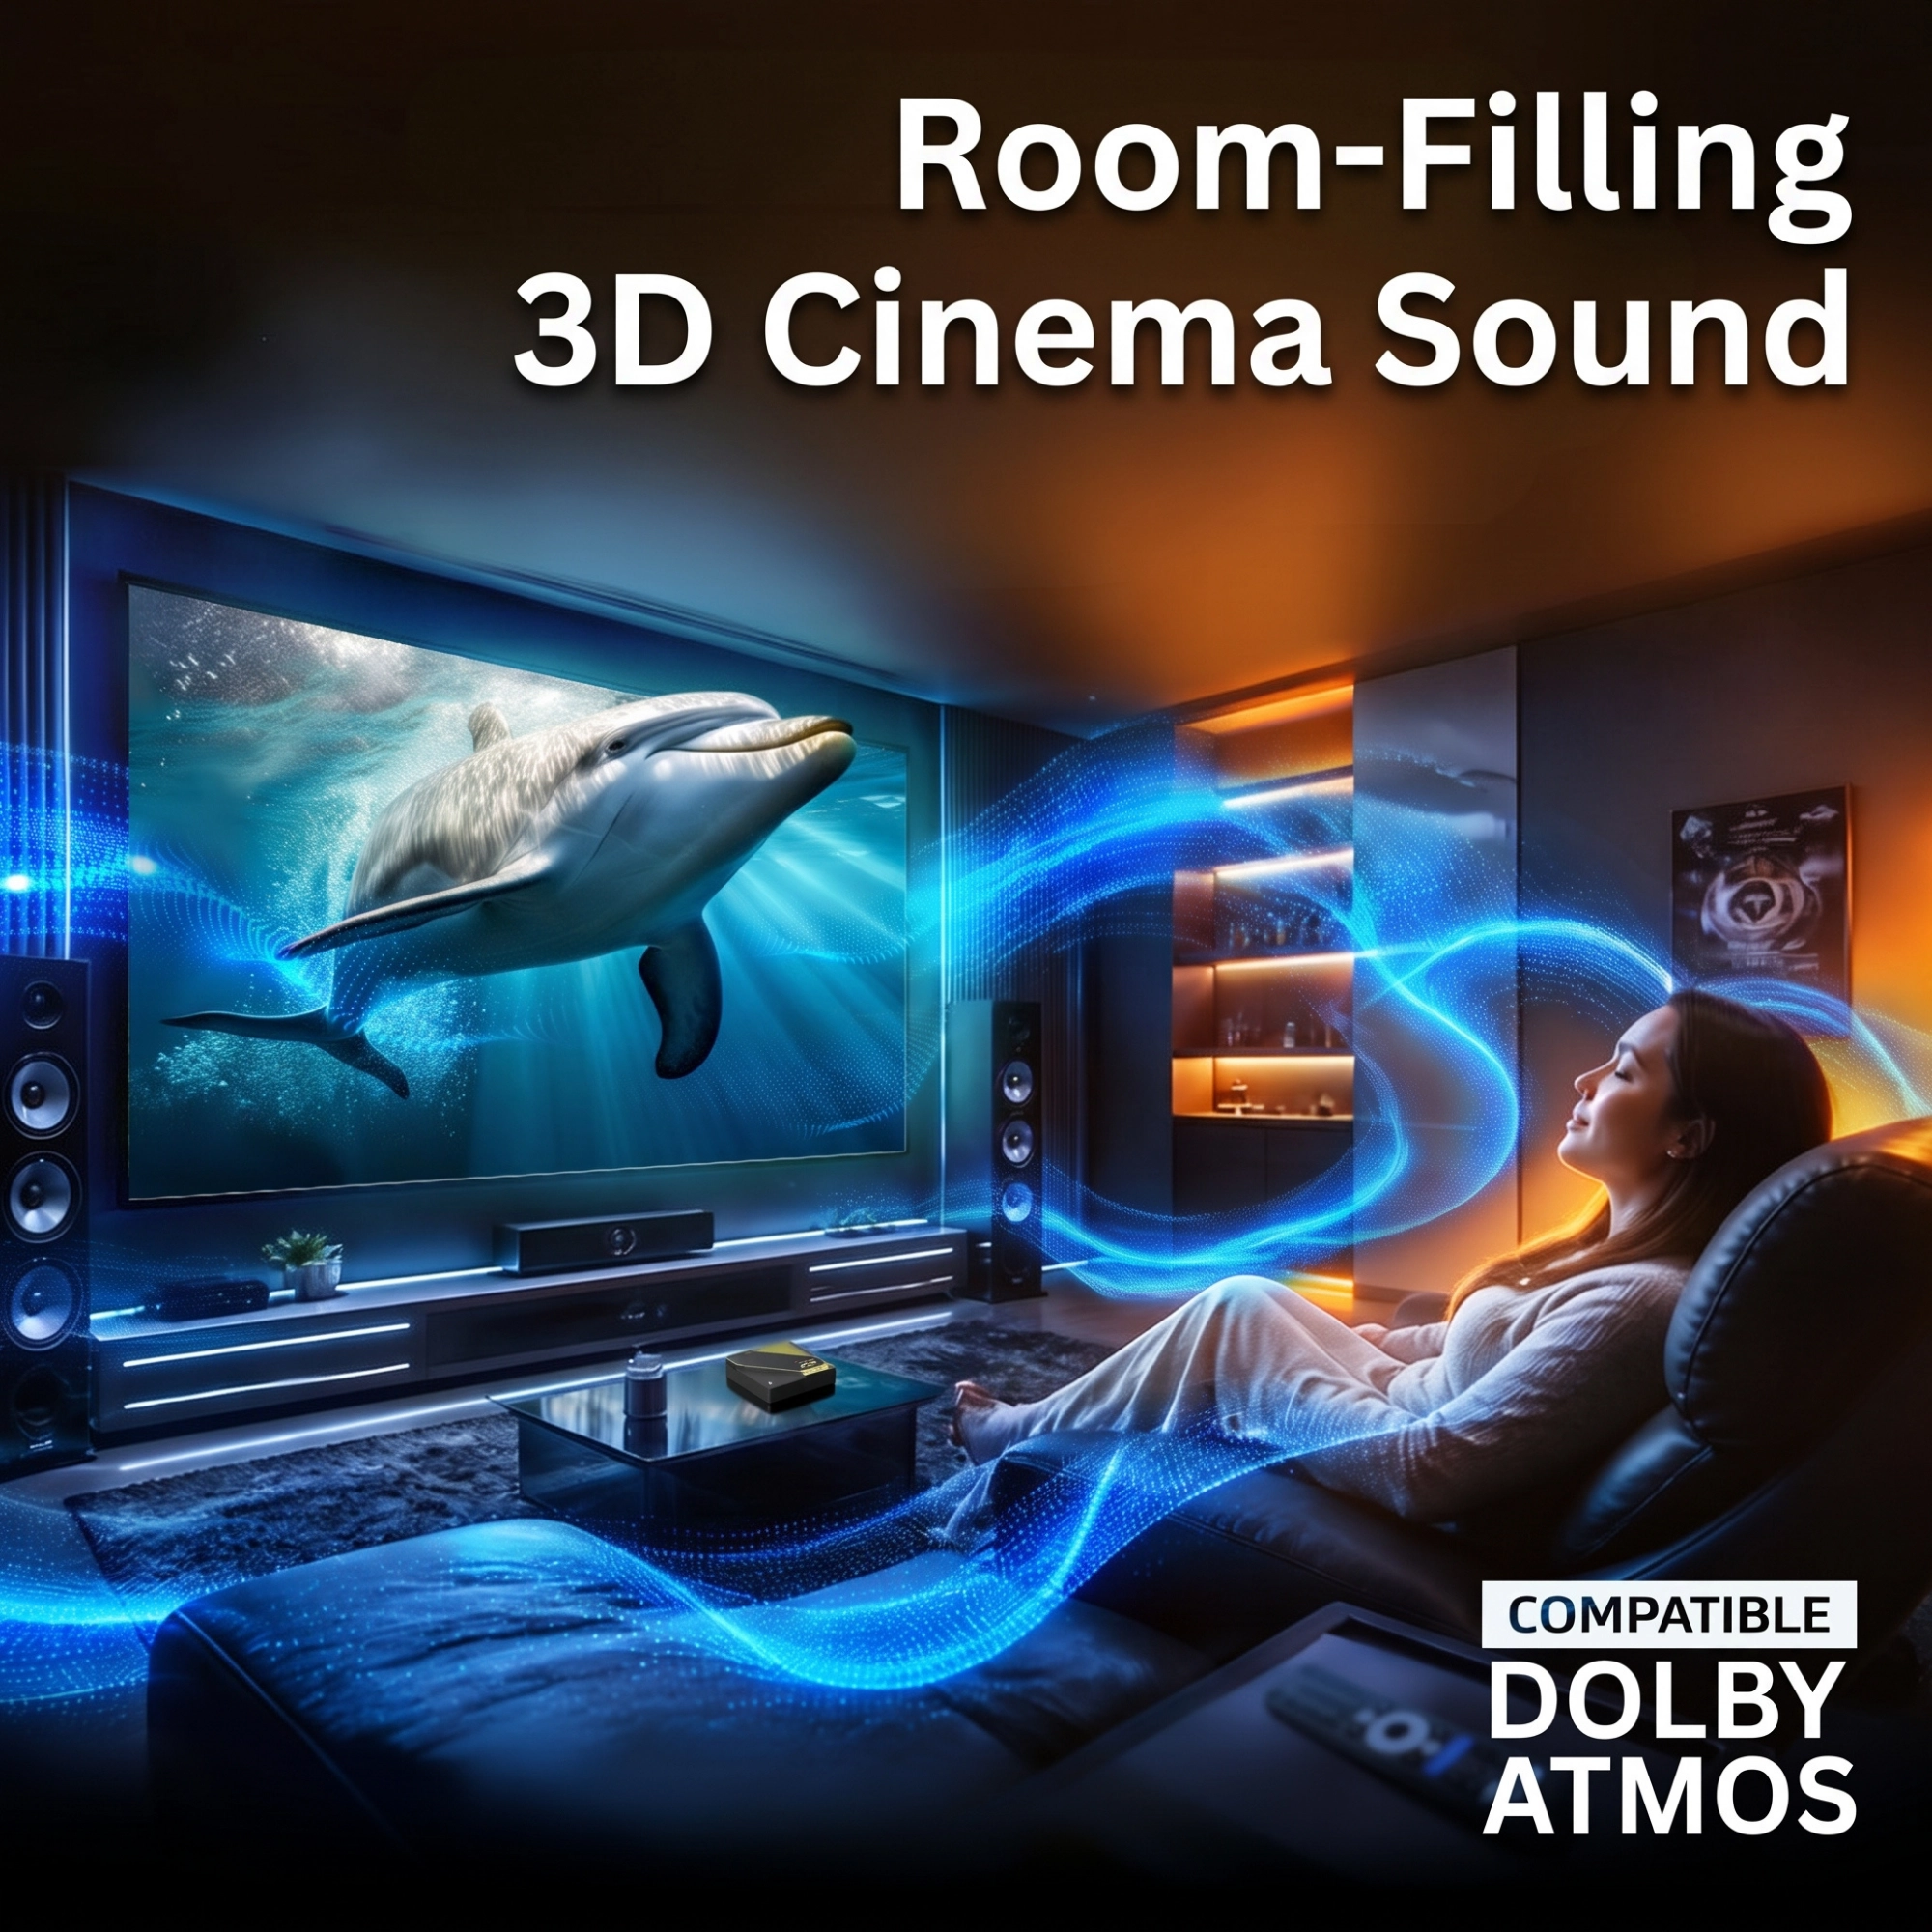
The G2 Next brings the true cinema experience home. With full Dolby Vision, HDR10+, and Dolby Atmos support, you can enjoy movies exactly as the directors intended – with stunning contrast and room-filling 3D sound.

50% more CPU computing power¹
At the heart of the G2 Next is the new Amlogic Quad-Core processor, delivering 50% higher computing power than the GX1. Combined with 4 GB of RAM, apps launch noticeably faster, menus respond without delay, and 4K streams run with effortless fluidity.

Intelligent AI Picture Optimization
The integrated AI engine enhances every video frame in real time. Using AI Super Resolution and digital noise reduction, even standard HD television or older series are cleanly upscaled to 4K, appearing noticeably sharper and clearer.
Everything in one place
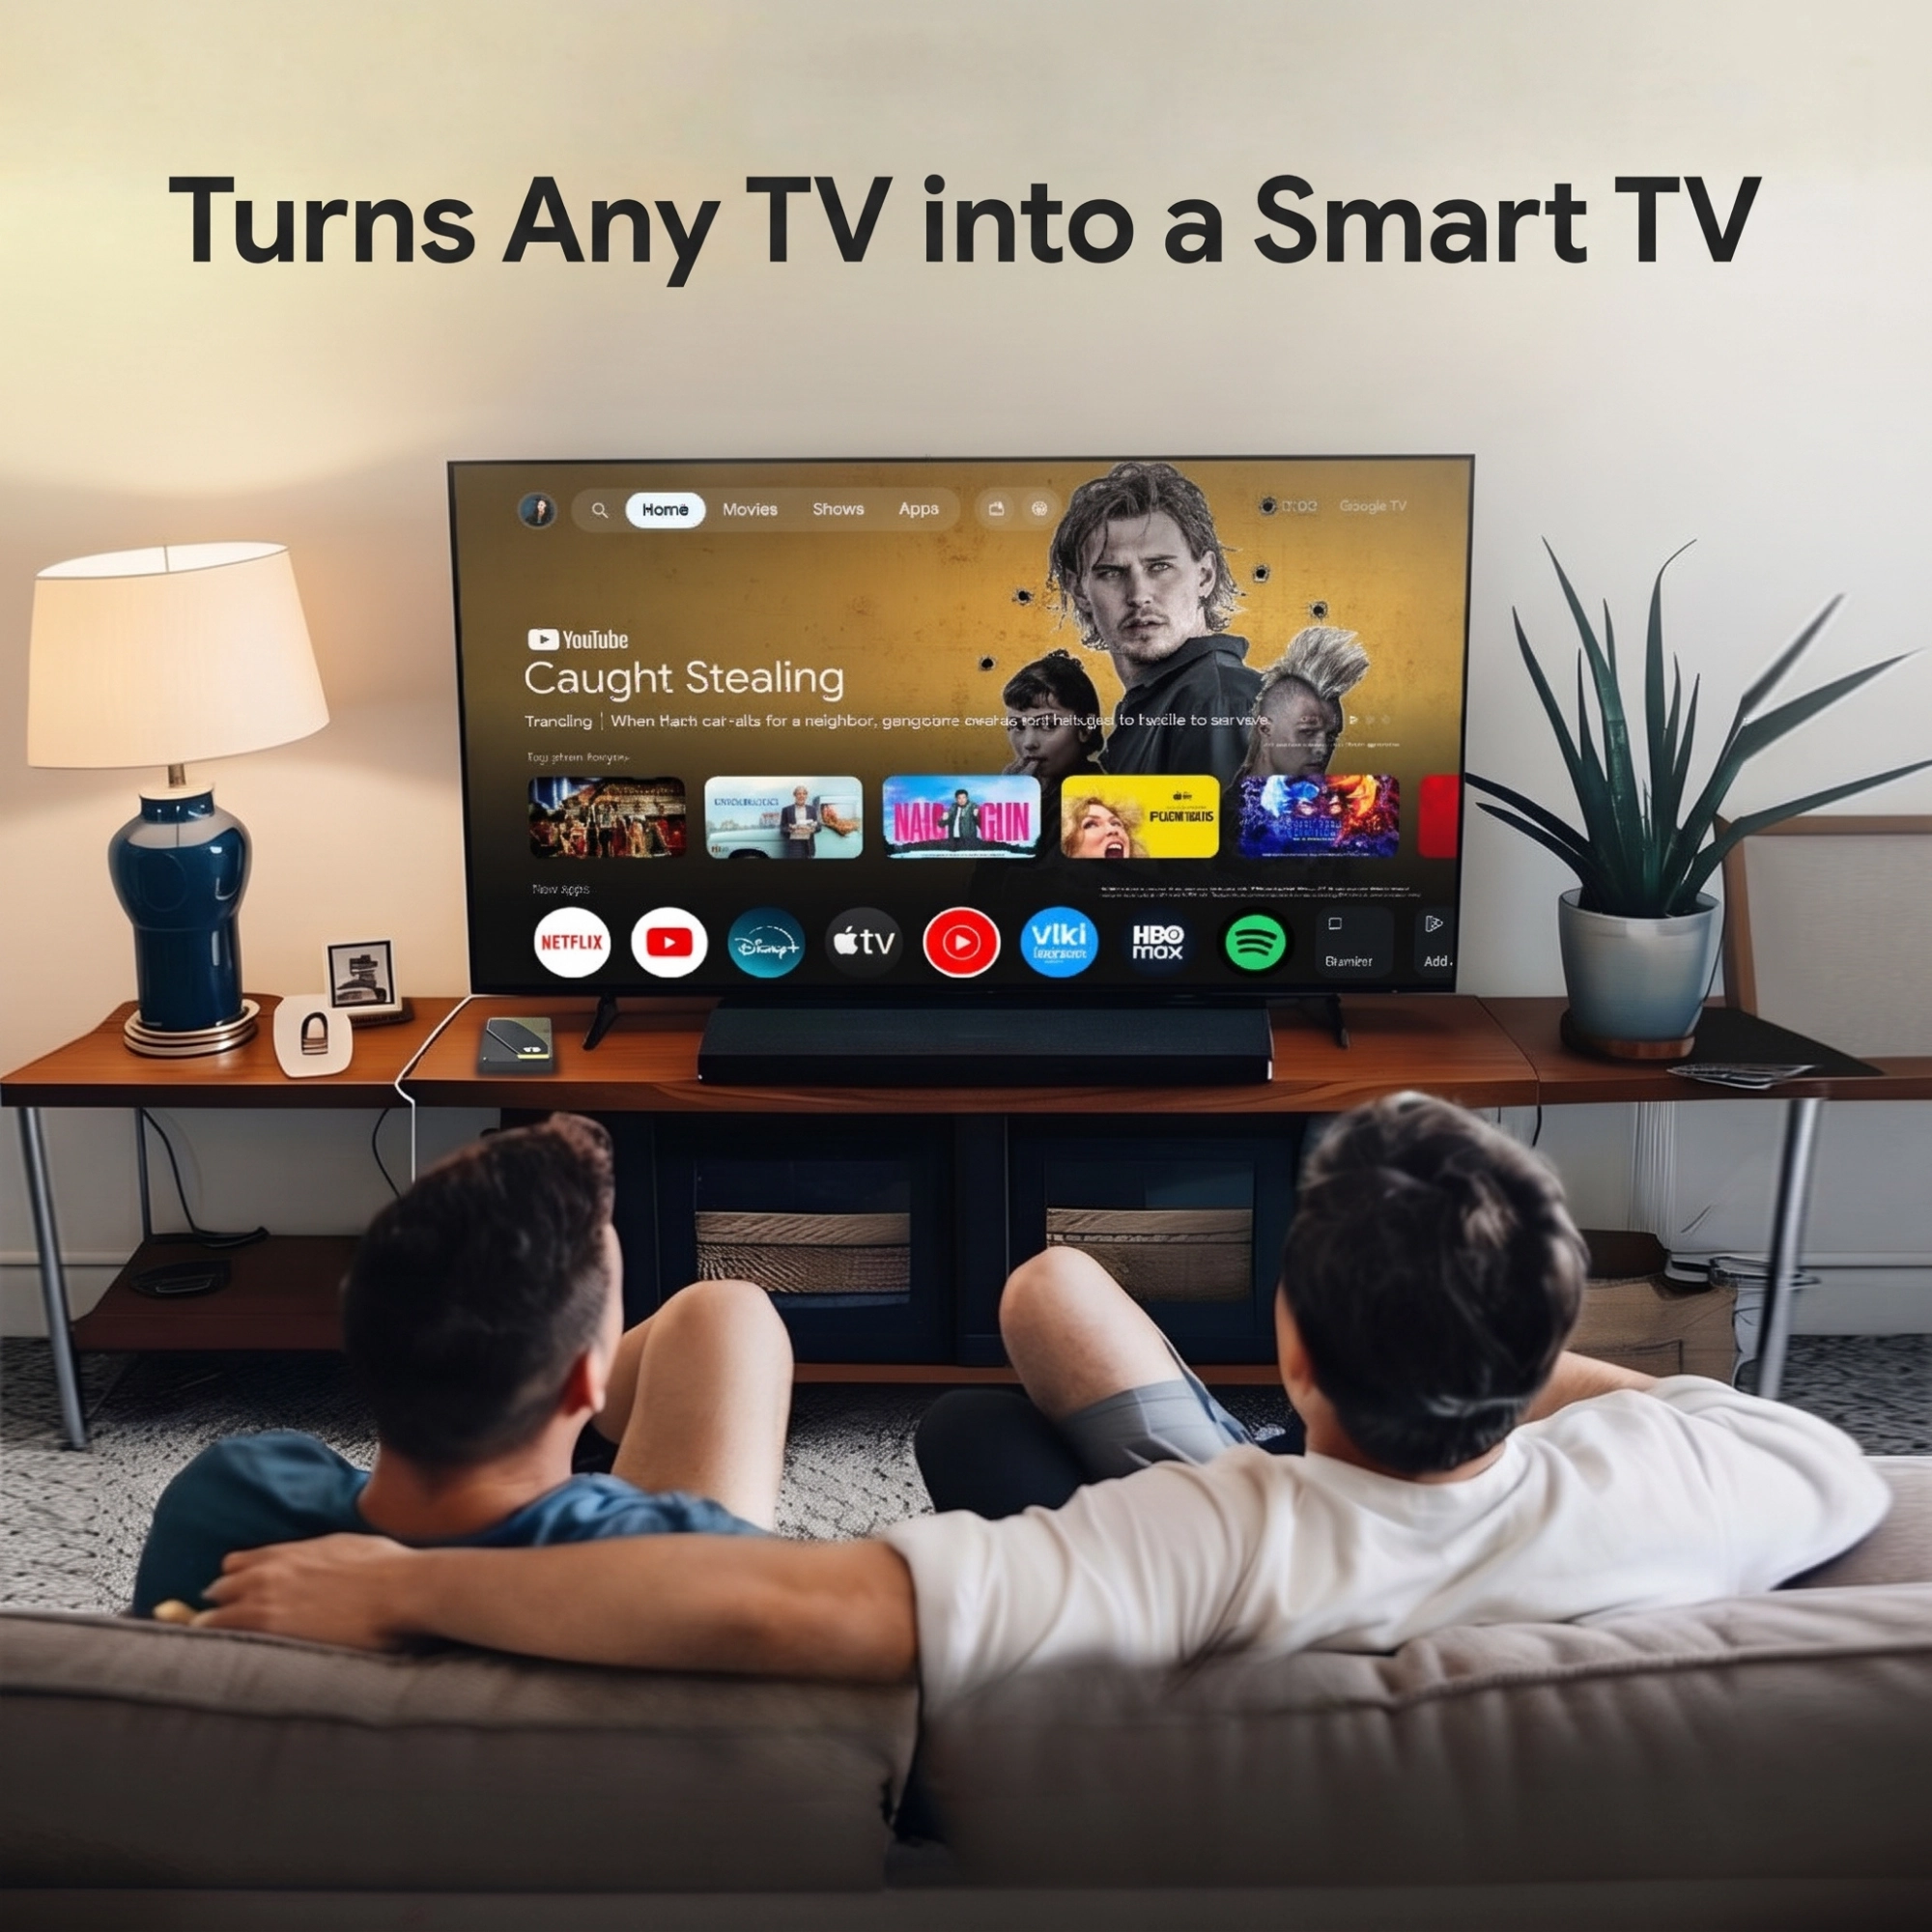
Google TV brings movies, series, and live TV from all your streaming services together on a clean home screen. Find your favorite content quickly via voice search without constantly switching between individual apps.

Limitless App Selection
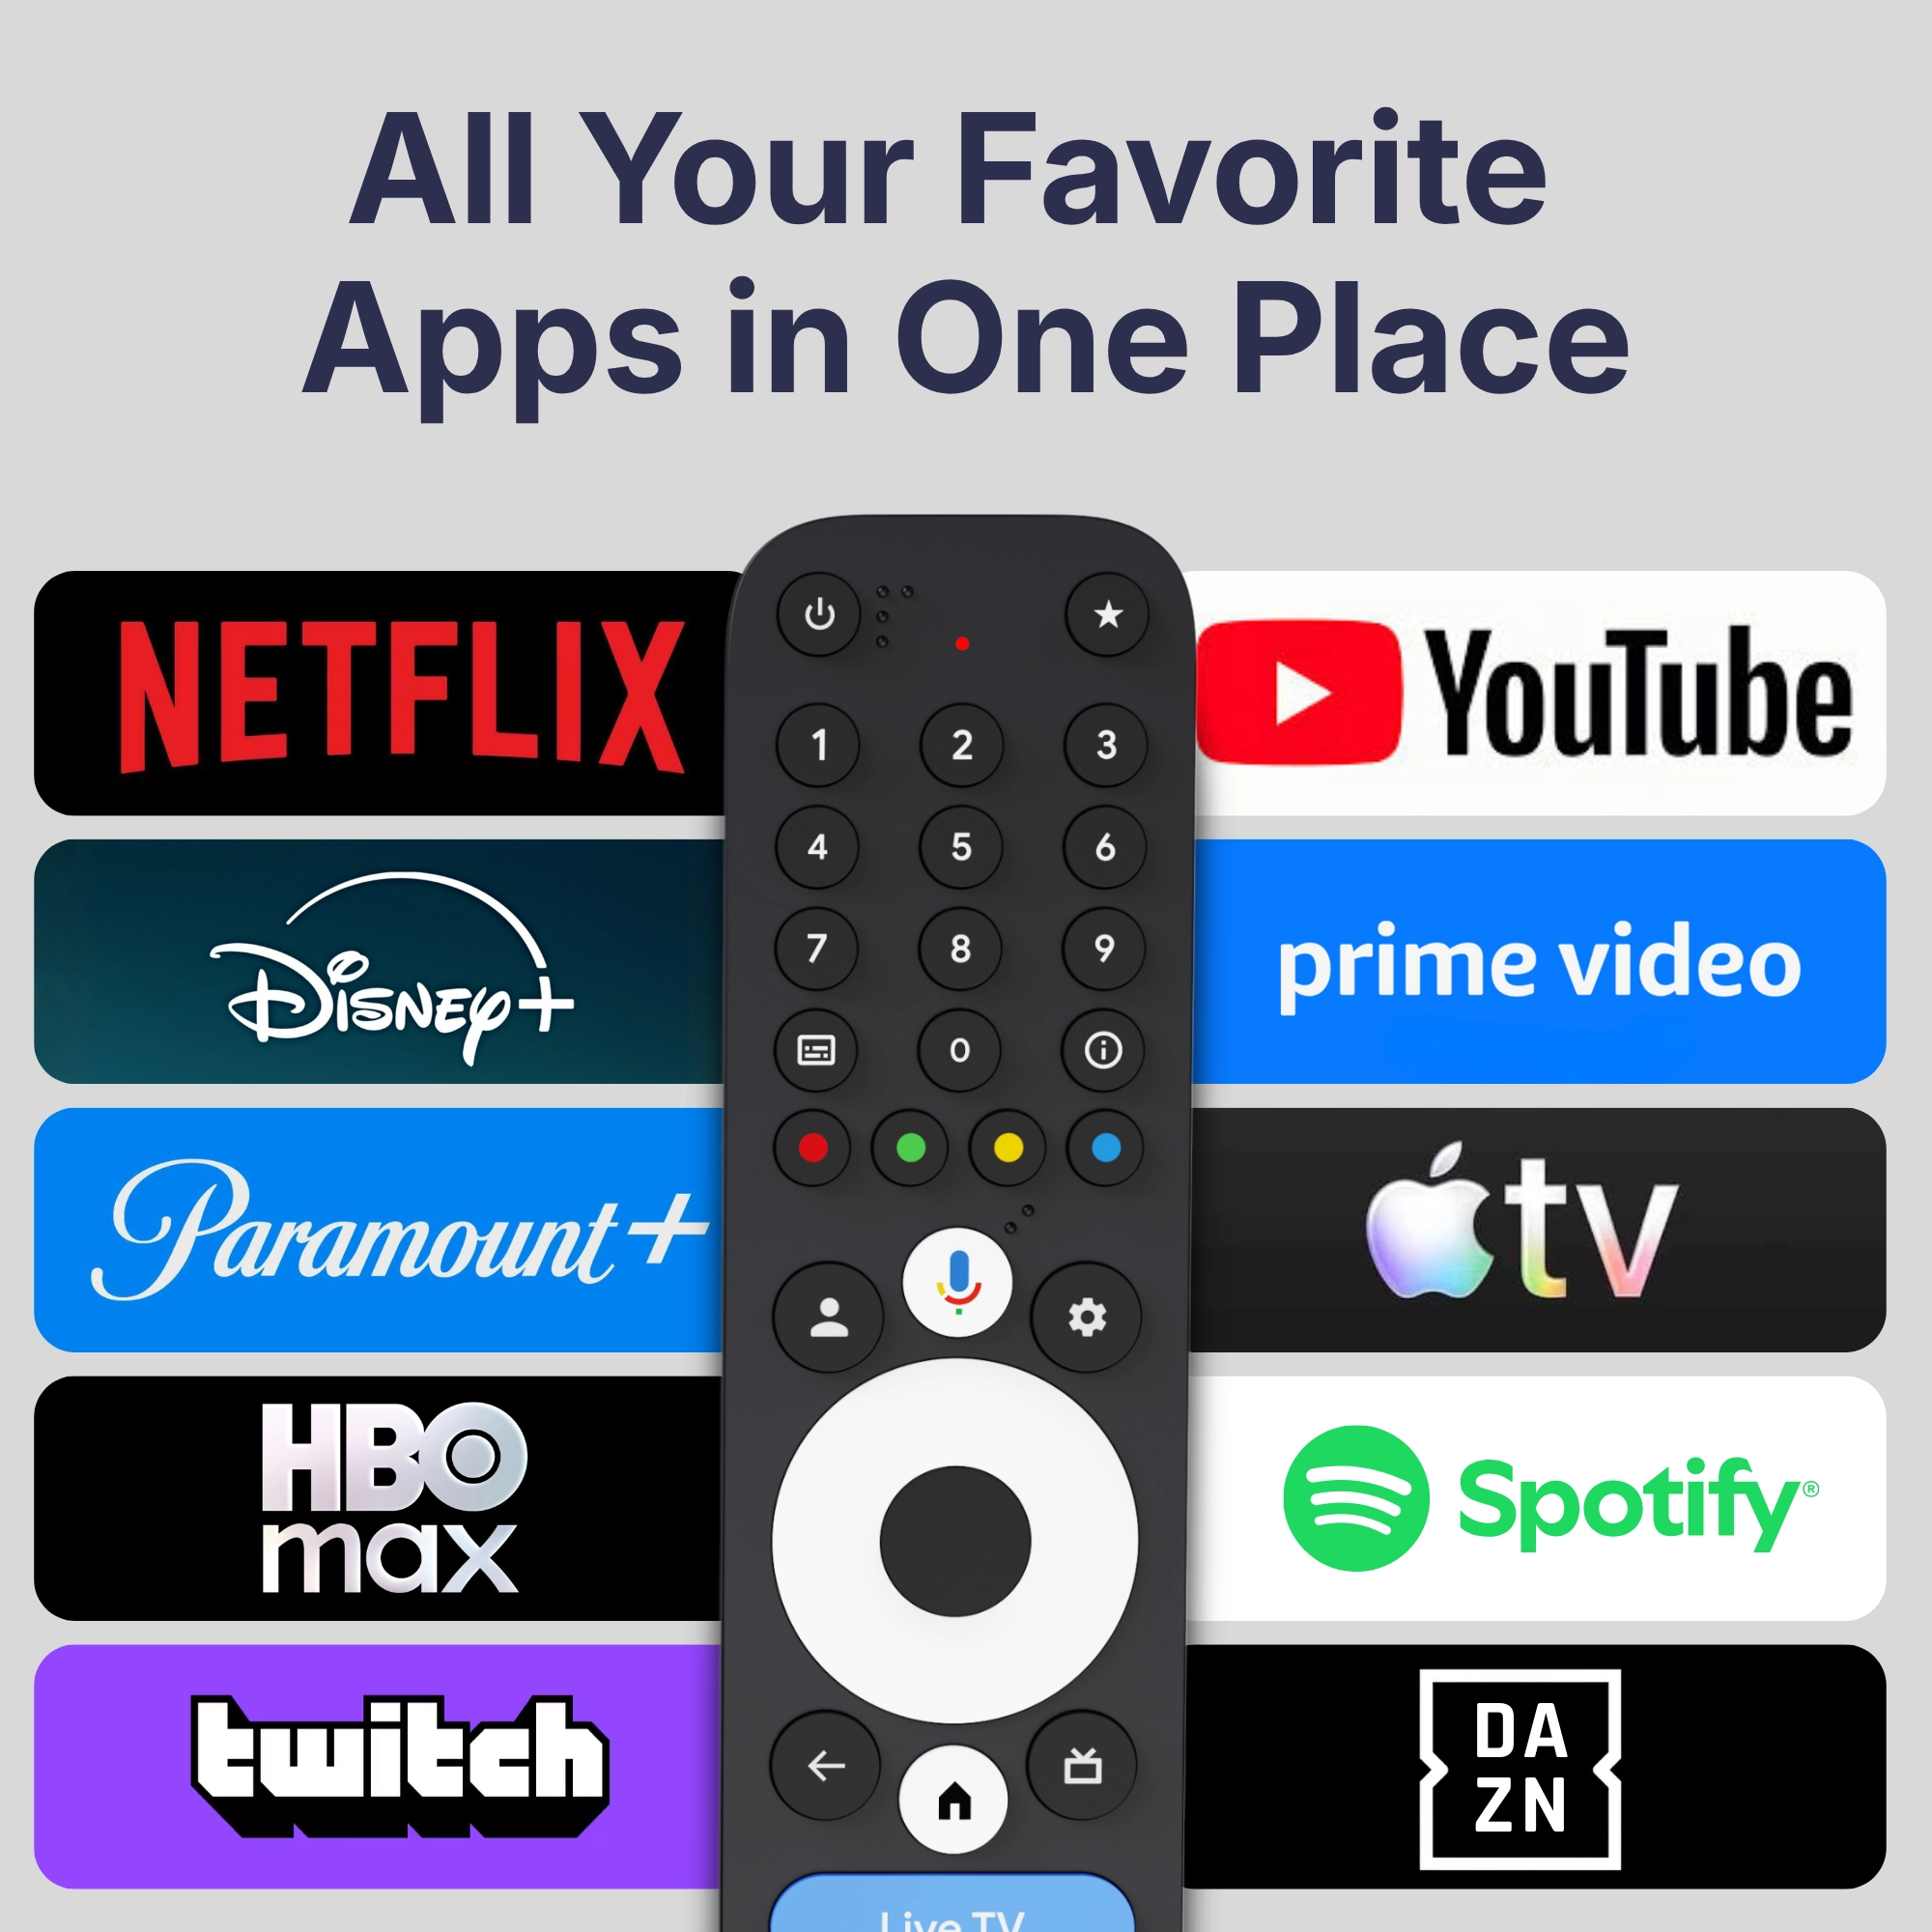
Thanks to the official Google Play Store and doubled 64 GB storage, the entire world of entertainment is open to you. Whether Netflix, Prime Video, Disney+, Apple TV+, YouTube, or media libraries – install dozens of apps without running out of space.

Versatile Connectivity
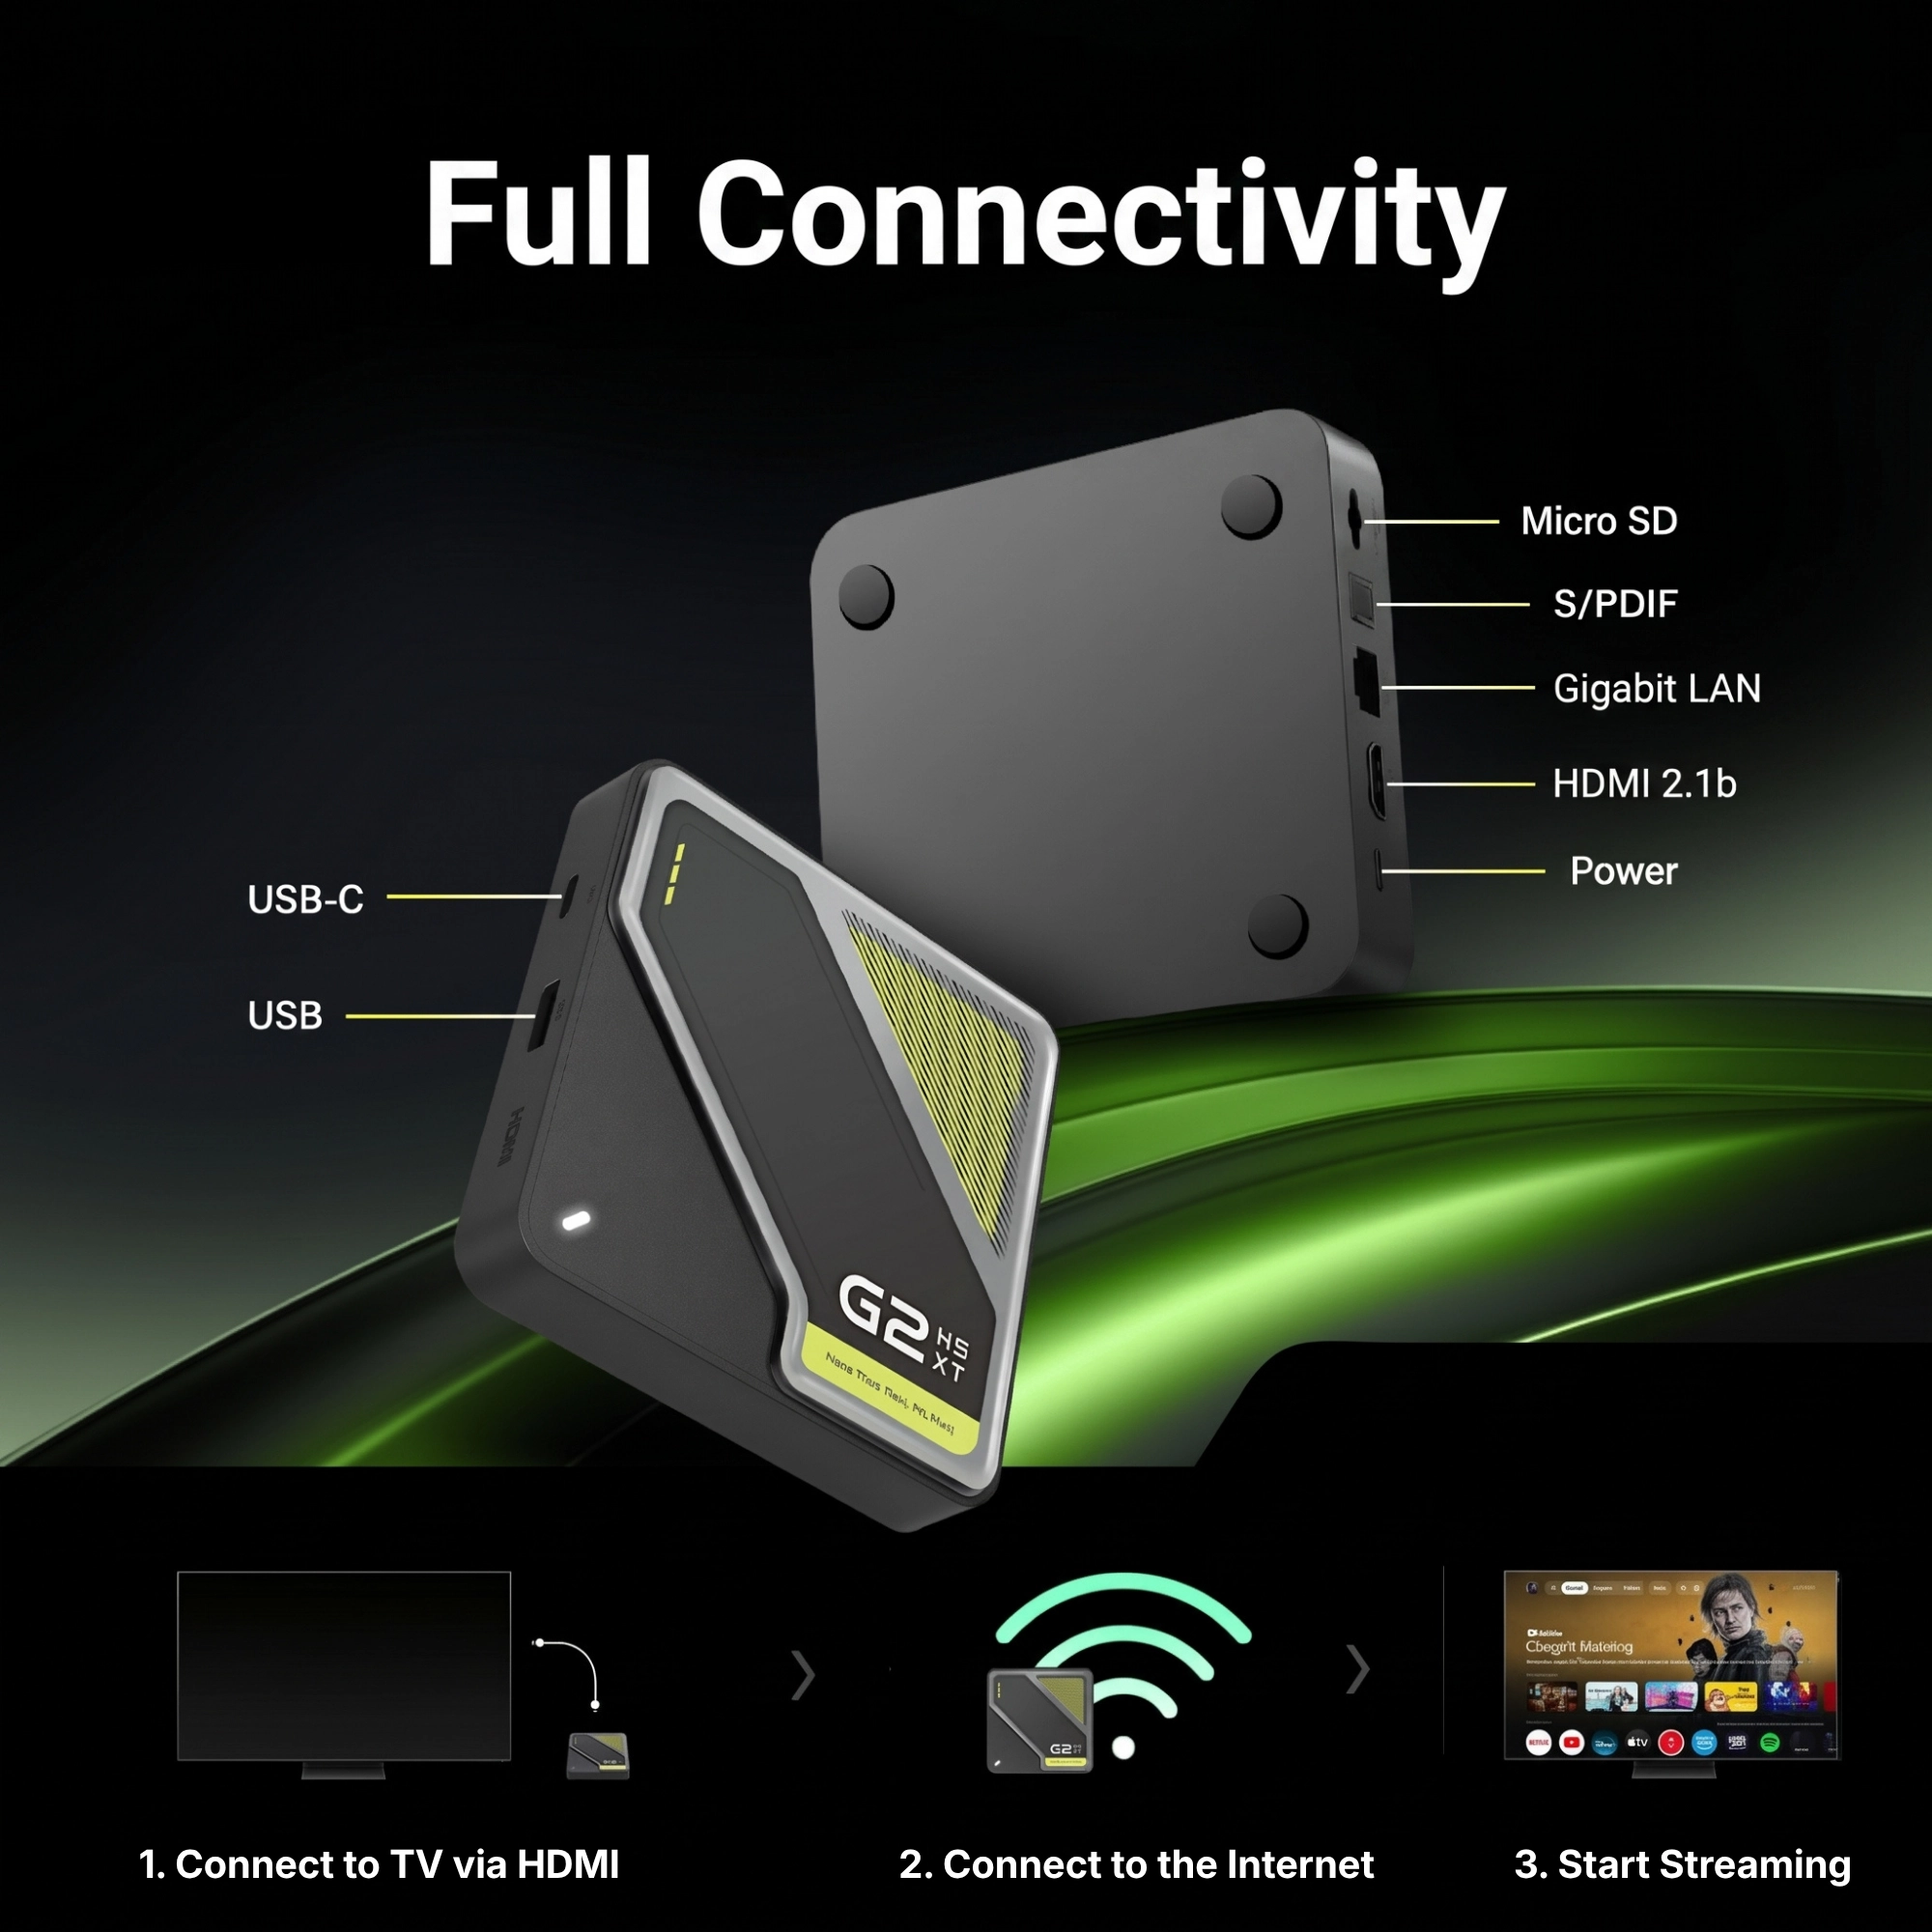
For demanding users, the G2 Next offers maximum connectivity: True Gigabit LAN and WiFi 6 for the fastest internet, complemented by USB-C, USB 2.0, a MicroSD card slot, and an optical audio output.

Sharing made easy
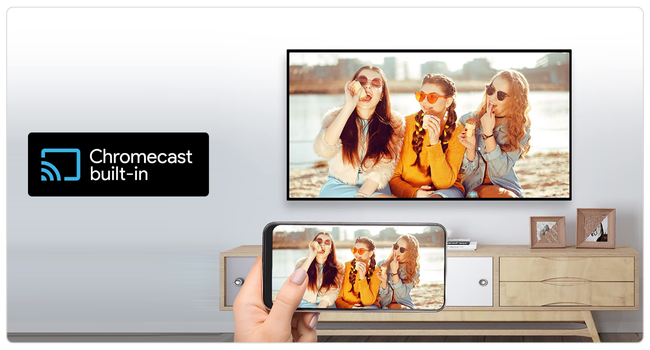
Your photos, videos, or presentations belong on the big screen. With Chromecast built-in™, you can wirelessly cast content from your smartphone, tablet, or laptop directly to your TV.
Technical Specifications
Buying Guide & Pre-Sales Questions
What are the advantages of the G2 Next compared to the GX1?
- 50% higher CPU computing power: The new 2.5 GHz Amlogic processor ensures even faster app launches and ultra-responsive navigation.
- Double the storage space: 64 GB internal storage (instead of 32 GB) provides plenty of room for apps, media libraries, and games.
- Gigabit LAN (1000 Mbps): Ten times the wired network speed (instead of 100 Mbps) alongside WiFi 6 and Bluetooth 5.2 – ideal for streaming high-bitrate 4K movies from a home server (NAS).
- Modern ports: In addition to USB 2.0, the box features a USB-C data port as well as a MicroSD card slot.
What do I need for setup and operation?
Which apps can I use & are there additional costs?
There are no monthly fees for using the box itself. You only pay for the subscriptions of the respective streaming providers (such as Netflix) if you choose to use them.
What are the benefits of AI Picture Optimization (AI-SR)?
Does the G2 Next support external hard drives, flash drives, and local movie files (MKV / ISO)?
Troubleshooting & Knowledge Base
The interactive practical manual for your G2 Next: All Google TV 14 settings clearly explained along with verified instant solutions directly from our technicians.
Prime Video shows an HDMI connection error (HDCP error)
- Use the original cable directly on the TV: Always use the included High-Speed HDMI cable and connect the box directly to the TV for testing (bypassing any HDMI switches).
- Reset the HDMI handshake: Unplug both the TV and the G2 Next from the power outlet for 30 seconds. Unplug the HDMI cable, plug it firmly back in, and power both devices back on.
Picture looks overexposed, washed out, too dark, or shows wrong colors (HDR / Color Space)
- Enable automatic HDR/SDR switching: Go to Settings → Display & Sound and turn on Match content dynamic range. The home menu and standard TV streams will now run in crisp SDR and only switch to HDR or Dolby Vision when playing true HDR content.
- Check or reset color format: Go to Settings → Display & Sound → Dynamic range & Color format → Color format. If you experience color issues, choose YCbCr 4:4:4 8-bit (or RGB 8-bit on older TVs/monitors). You can also click Display setting reset right below it to restore factory display settings in one click.
- Disable Dolby Vision / HDR for older TVs: Under Display & Sound → Advanced display settings, you can force SDR via Preferred dynamic range (Force conversion) or individually disable formats like Dolby Vision under Format selection.
Picture stutters during movies (24p) or freezes on Live TV apps (50Hz)
- Enable automatic matching for all TVs: Go to Settings → Display & Sound → Match content frame rate and select Always. (Note: On TVs without QMS, the screen will briefly go black for 1–2 seconds when starting a video while the TV locks into the native judder-free refresh rate).
- Fixed 50Hz for European Live TV & IPTV apps: If your Live TV app does not trigger automatic frame rate switching, go to Settings → Display & Sound → Resolution and manually select 4K (50 Hz) or 1080p (50 Hz).
The G2 Next turns off by itself after 20 minutes of inactivity
- Go to Settings → System → Power off timer.
- Under “TURN OFF AUTOMATICALLY”, click When inactive (Default: 20 minutes) and choose a longer interval or set it to “Never”.
A single app does not load, shows a spinning circle, or freezes
- Go to Settings → Apps → See all apps and select the affected app.
- Click Force stop and then click Clear cache.
- Under Settings → Apps → Manage updates, you can also check if app updates are available.
Advanced display settings (“Preferred dynamic range”, “Format selection” & “Allow game mode”)
- Allow game mode (ALLM): Enabled by default. Automatically switches compatible TVs into low-latency Game Mode when gaming.
- Preferred dynamic range: Set to System-preferred conversion by default. Using Force conversion, you can lock output to a fixed format (such as permanent SDR for older TVs or projectors).
- Format selection (disable Dolby Vision individually): Set to Automatic by default. If your TV displays Dolby Vision too dimly or with wrong colors, switch to Manual – under “FORMAT INFORMATION” (Show formats), you can then turn off Dolby Vision individually while keeping standard HDR10 active.
Adjust menu font size on the TV screen (“Text scaling”)
No Dolby Atmos or 5.1 surround sound on soundbar, AV receiver, or via optical cable (S/PDIF)
- Switch Dolby output format to “Dolby digital plus”: Go to Settings → Display & Sound → Audio options → Dolby preferred output. Change the setting from “Dolby mat” (which requires HDMI eARC) to Dolby digital plus. This makes Dolby Atmos and 5.1 audio immediately compatible with virtually every soundbar and AV receiver.
- Check audio formats for HDMI & optical cable (S/PDIF): Go to Settings → Display & Sound → Advanced sound settings → Select formats. If formats supported by your receiver are listed under “DISABLED FORMATS” (or if you use an optical Toslink cable for Dolby Digital / DTS), select Manual and enable them directly.
- No sound on stereo TVs or monitors: Under Advanced sound settings → Select formats, select Never use surround sound (pure stereo output).
Audio and video are out of sync (“Audio video sync” / Lip-Sync on soundbar)
- Direct synchronization in the G2 Next menu: Via Audio video sync, the G2 Next features a built-in system calibration tool to align picture and sound directly.
- Switch to “Dolby digital plus”: Additionally, change Audio options → Dolby preferred output from “Dolby mat” to Dolby digital plus – this eliminates audio processing delays on many soundbars immediately.
- Set TV audio output to “Passthrough”: When your soundbar is connected to the TV via HDMI-ARC, set the digital audio output format in your TV's sound menu from “Auto” to Passthrough.
Remote control (“RemoteG21”): Pairing, battery level, TV buttons (“Set up remote buttons”) & number pad
- Pair remote & check battery level: Your voice remote is listed under “ACCESSORIES” as RemoteG21 along with its current battery level in percent. To re-pair, click + Pair remote or accessory and hold the Home button + Back button simultaneously for approx. 5 seconds.
- Set up TV & Soundbar buttons (“Set up remote buttons”): Click Set up remote buttons (Control volume, power, input on TVs, receivers and soundbars) in the menu to program the volume, power, and input buttons on the remote for your TV or soundbar.
- Number pad (0–9): Allows direct channel selection by number in supported Live TV and IPTV apps (such as TiviMate, Waipu.tv, Zattoo, or MagentaTV).
HDMI-CEC (“Enable HDMI-CEC”) & Meaning of the Status LED (White / Red)
- Turn HDMI-CEC on or off: Go to Settings → Display & Sound → HDMI-CEC. The master switch Enable HDMI-CEC is enabled by default so your TV and G2 Next power on and off together. If your box ever turns on by itself, simply toggle Enable HDMI-CEC off.
- Meaning of the Status LED: The subtle front status LED glows White during operation and Red in standby mode.
- Home screen without movie recommendations (“Apps only mode”): Under Settings → Accounts & sign-in, you can enable Apps only mode inside your Google profile to hide recommendation banners on the home screen.
System update, restart, change device name & factory reset (“About” menu)
- Check for software updates: Under System → About, click System update at the top to check if new firmware is available for your G2 Next.
- Change device name for Chromecast: Under About → Device name, you can assign a custom name (e.g., Living Room TV) that appears when casting from your smartphone.
- Clean system restart: Scroll to the bottom of Settings → System and select Restart.
- Factory reset: If you wish to reset the box completely to factory settings, go to Settings → System → About → Reset.
Menu click sounds (“System sounds”), screensaver (“Ambient mode”), Chromecast & keyboard
- Disable menu click sounds: Scroll down under System and turn off the System sounds toggle.
- Customize screensaver (“Ambient mode”): Under System → Ambient mode, you can launch the screensaver via Start now or choose the image source under Settings.
- Chromecast control on WiFi (“Cast”) & Storage: Under System → Cast, choose whether other devices on your WiFi network can control active cast sessions. Right above under Storage, you can check your 64 GB storage usage at any time.
- Keyboard layout & Date/Time: Under System → Keyboard, configure the layout for external 2.4 GHz or Bluetooth keyboards. If apps fail to connect after unplugging power, briefly check System → Date & Time.
External hard drives (NTFS / exFAT), USB-C ports (data vs. 5V/2A power adapter) & MicroSD cards
- Native support for NTFS & exFAT: The G2 Next natively supports storage drives formatted in FAT16, FAT32, and exFAT (Read & Write) as well as NTFS (Read) out of the box. For smooth playback of local movie collections (including MKV and ISO files), we recommend free apps such as Kodi, VLC, or Nova Video Player from the Google Play Store.
- Important power supply note (use the 5V/2A adapter!): Always power the G2 Next using the included 5V/2A power adapter connected to the rear power port (DC). Do not power the box from a standard TV USB port (TV USB ports usually supply only 0.5A, which can cause reboots under 4K load).
- USB-C data port, USB 2.0 & MicroSD: The dedicated USB-C port and USB 2.0 port are designed for USB flash drives, hard drives, or 2.4 GHz wireless dongles. Additionally, the MicroSD slot (TF Card) accepts memory cards up to 128 GB (SDHC/SDXC).
- Power supply for 2.5-inch hard drives: For large mechanical hard drives without their own power adapter, we recommend connecting them via a powered USB hub (with its own wall adapter) to handle high spin-up currents reliably.
Optimize Gigabit LAN (1000 Mbps), WiFi 6 (5 GHz) & “Scanning always available”
- Full Gigabit LAN speed: Via the RJ45 port, the G2 Next achieves up to 1000 Mbps. Make sure the LAN port on your router is set to “1 Gbps / Full Speed” rather than “100 Mbps Eco/Green Mode”.
- Disable background scanning (“Scanning always available”): At the bottom of Network & Internet, the switch Scanning always available is enabled by default. If you use a wired LAN cable or want maximum stability on 5 GHz WiFi without background location scans, simply turn this switch off.
- WiFi 6 (2T2R MIMO): Router tip: Setting a fixed lower 5 GHz channel (channel 36 to 48) on your router prevents brief drops caused by automatic DFS radar channel switching.
Kodi, Plex & managing apps (“Add more apps” / “Unused apps”)
- Judder-free 24p playback & passthrough in Kodi: In Kodi, go to Settings → Player → Videos and set “Adjust display refresh rate” to On start / stop. For home theater bitstream audio, go to System → Audio (switch view to “Expert”) and enable Allow passthrough.
- Install & manage apps: Under Settings → Apps, you can search for new apps via Add more apps, check for updates under Manage updates, or free up space under Unused apps.
Why are partner apps like NordVPN pre-installed on my new device?

